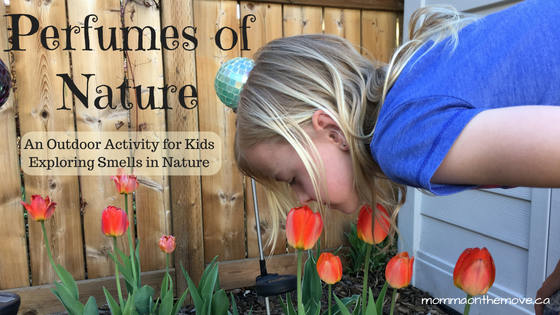
One of the many things I love about the outdoors is all the wonderful smells! The smell of a spring rain, wet leaves, the cherry blossoms, the scent of pinecones, even dirt. And I love when the kids come in and they have what I call that ‘outside smell’, where they just smell of sun, fresh air and the outdoors.
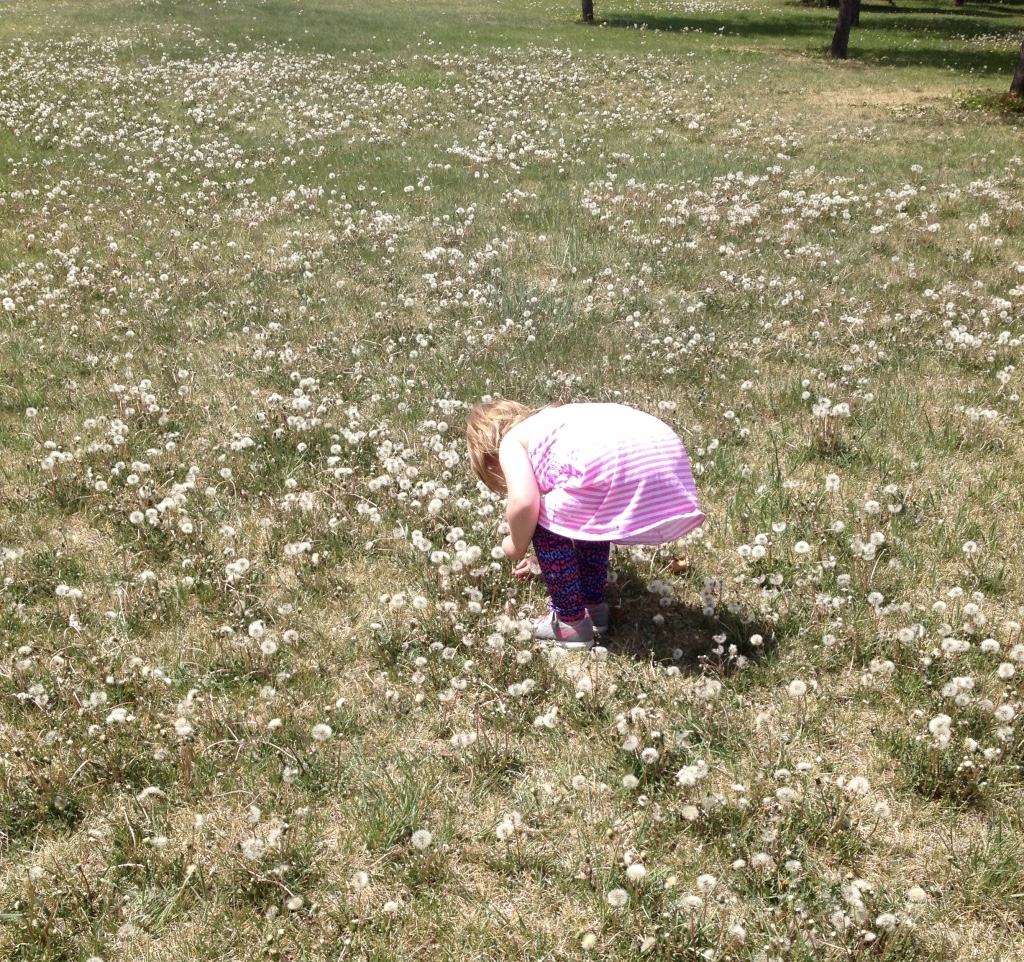
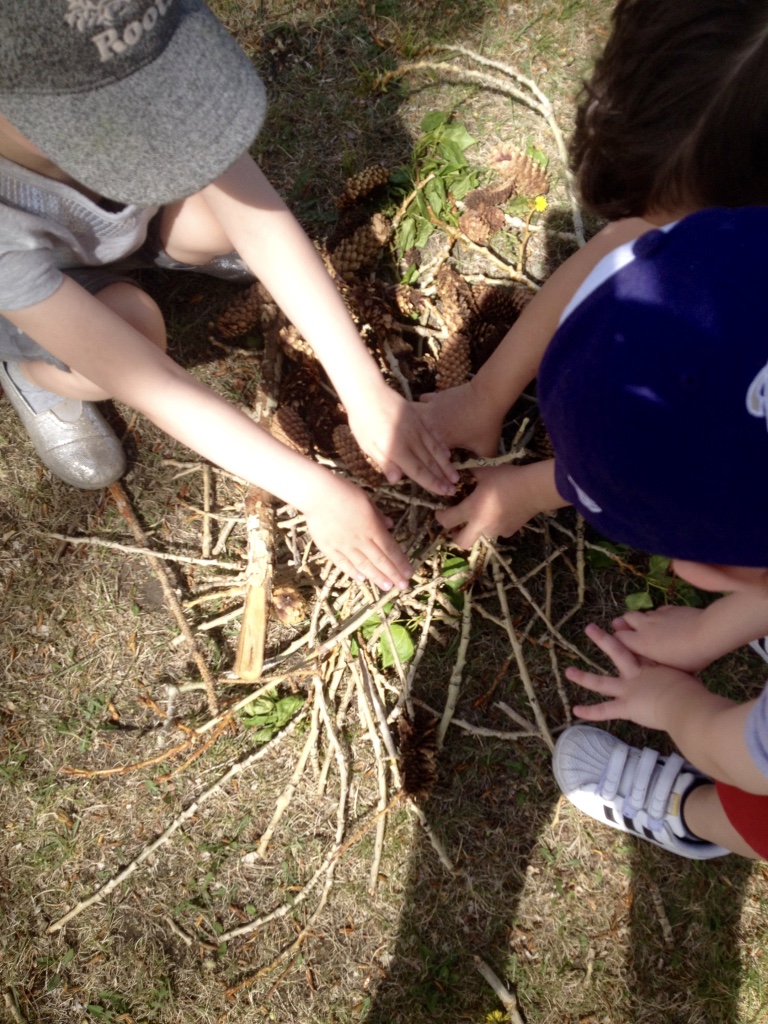
Kids also love to smell stuff! In fact, it is one of the many wonderful things about children how they always have their noses in something, they’re willingness to explore and how they naturally just use all their senses when they are learning.
In learning about nature especially, we engage all 5 senses and smell is no exception! In fact, we get the most out of our learning experience outdoors when we are engaging all of our senses. It becomes just that much more of a cool experience. Smell is a unique one as we often take for granted the smells that we experience when we’re outside, and may not consciously notice them unless they are quite strong or overpowering, and though we appreciate all the wonderful smells outdoors, we don’t always single them out (except maybe when you’re near a cow paddie!).
Taking the time to do an activity with kids that singles out the different smells in nature can be quite a fascinating experience. Having them learn and identify the smells individually helps them to heighten their outdoor experience and learn to appreciate another aspect of our beautiful natural world.
Identifying the Smells of Nature
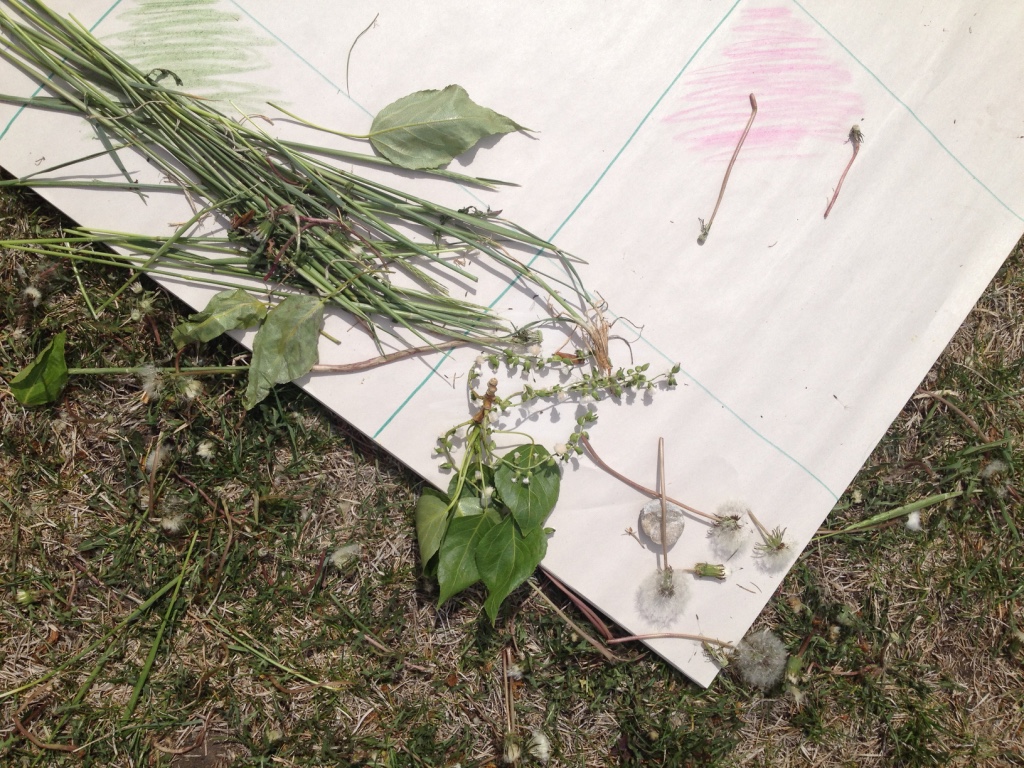
In this simple activity we are going to help children identify different smells in nature and learn where they would find them.
You will need:
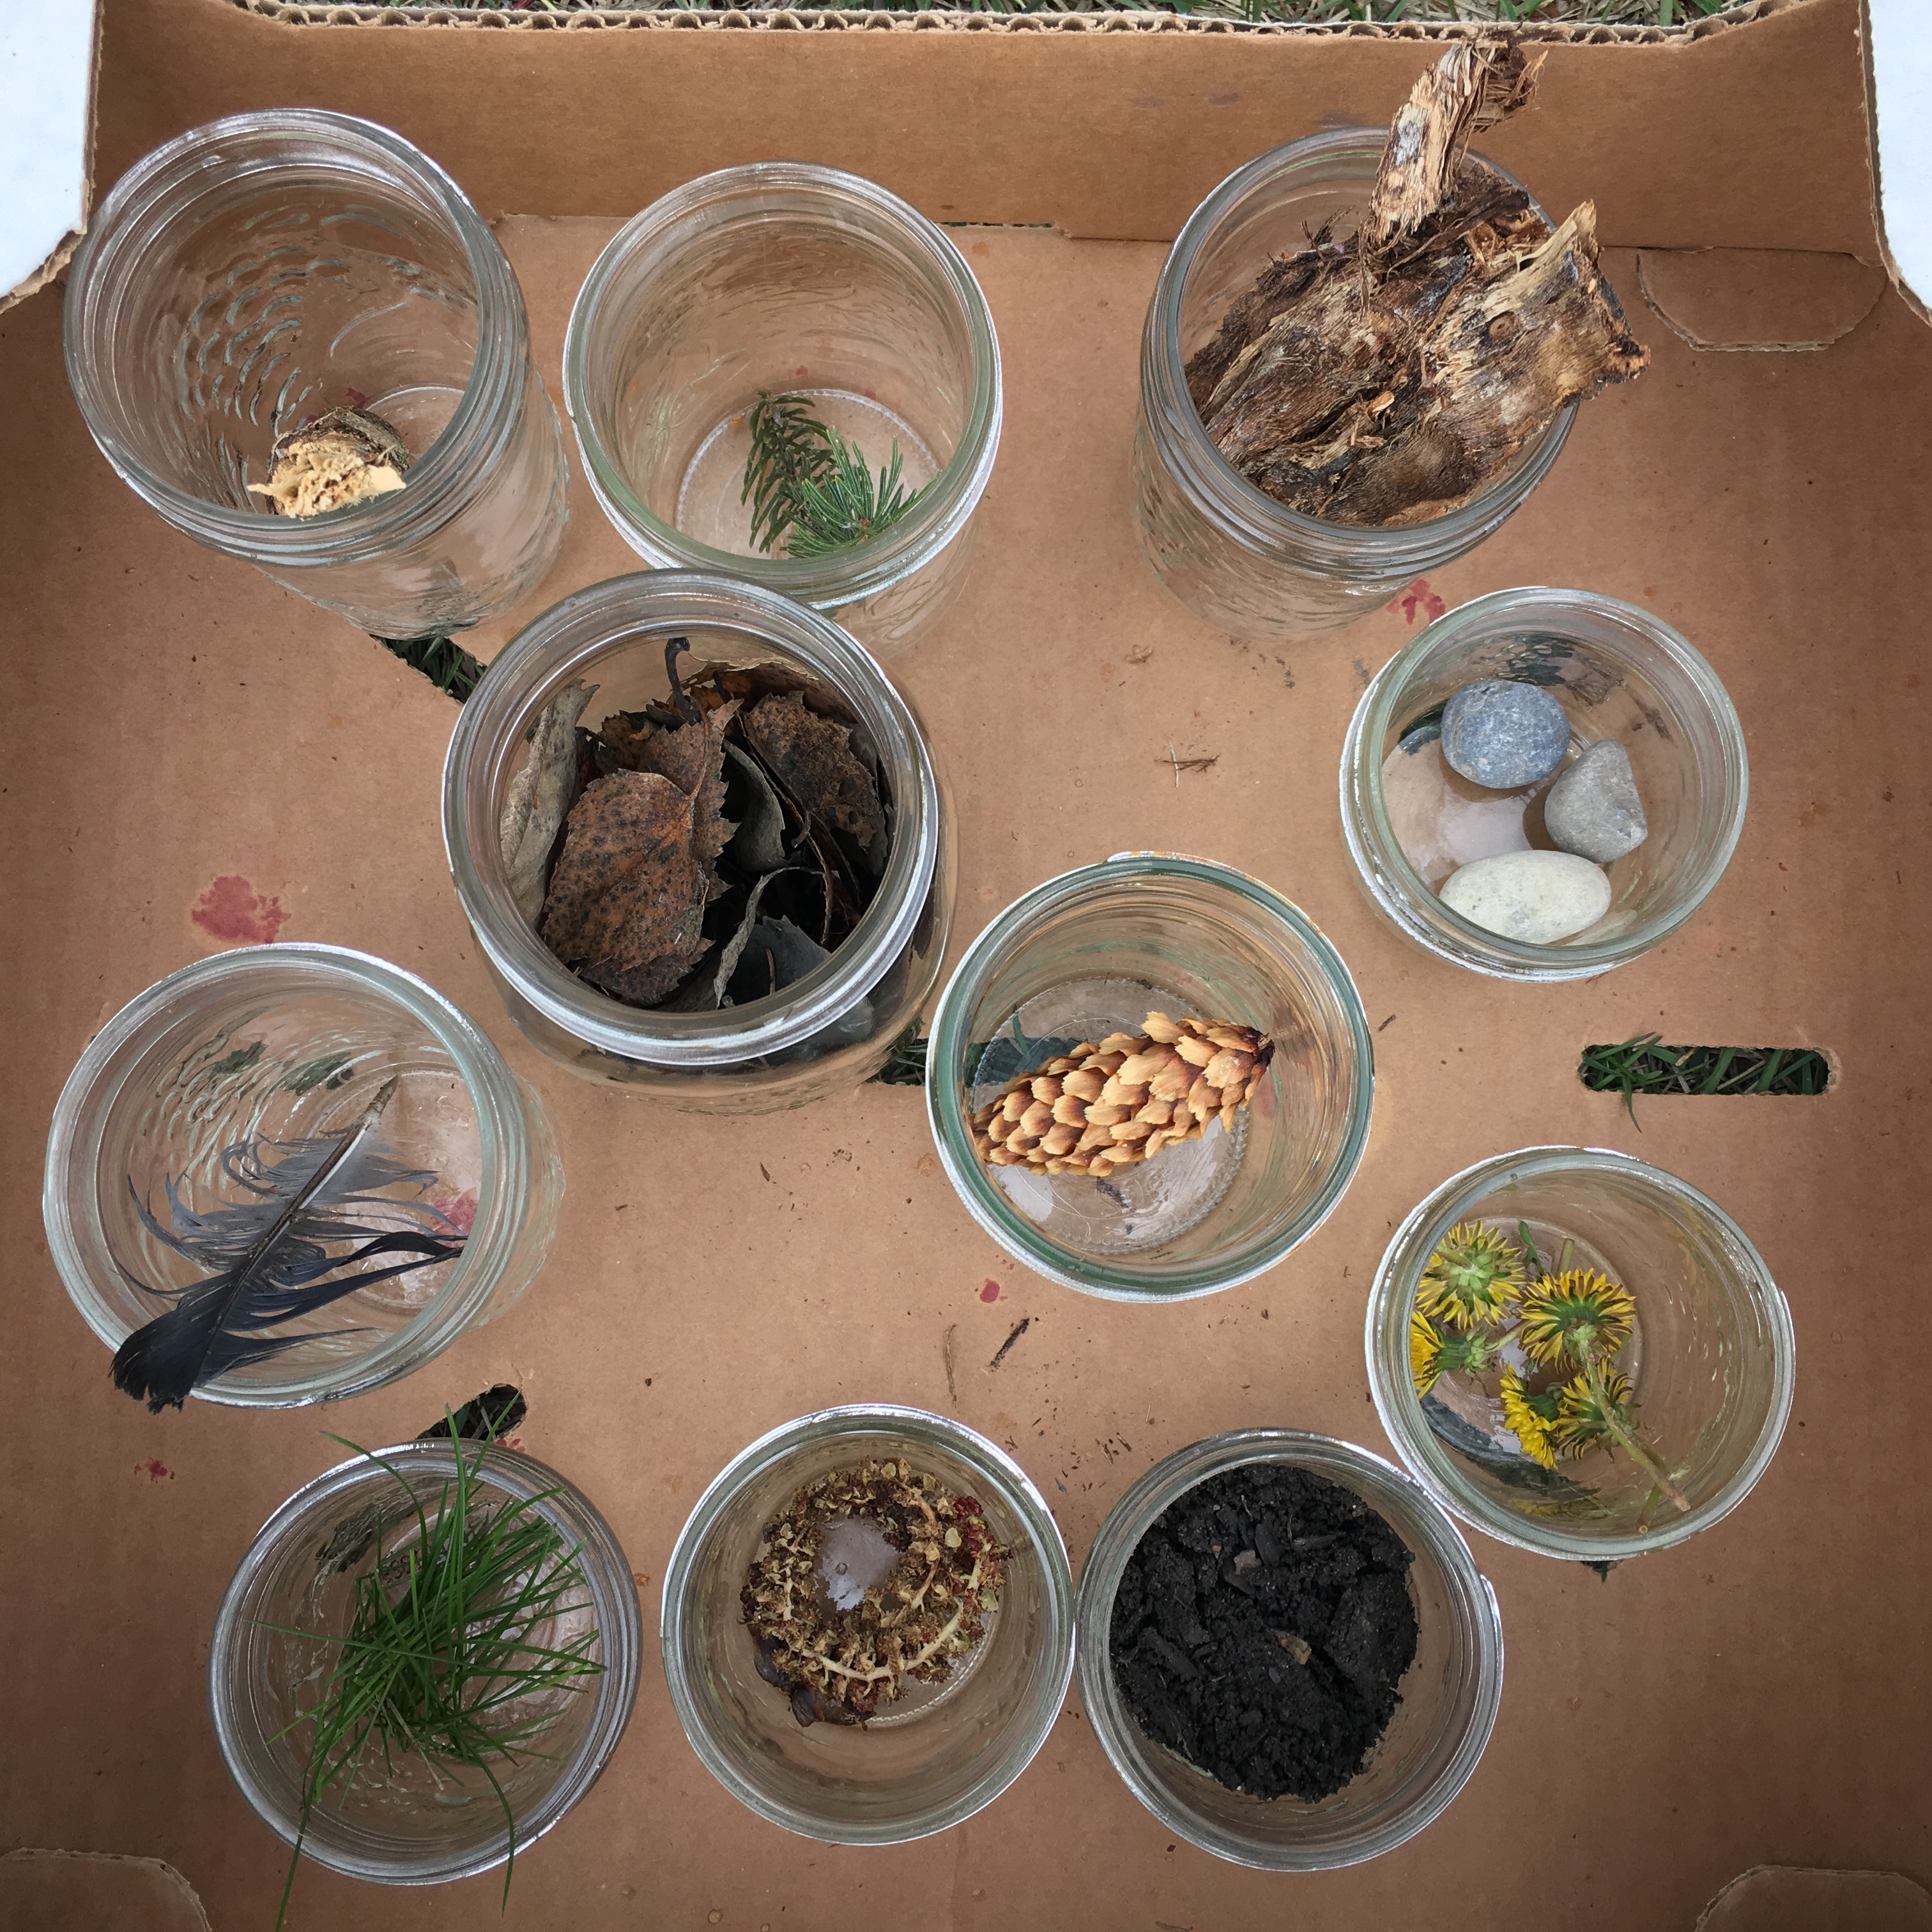
- 10 small mason jars or other small container
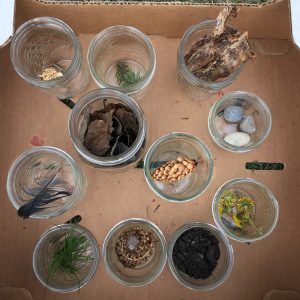
- blindfolds
- dirt
- dandelions
- rocks
- bark
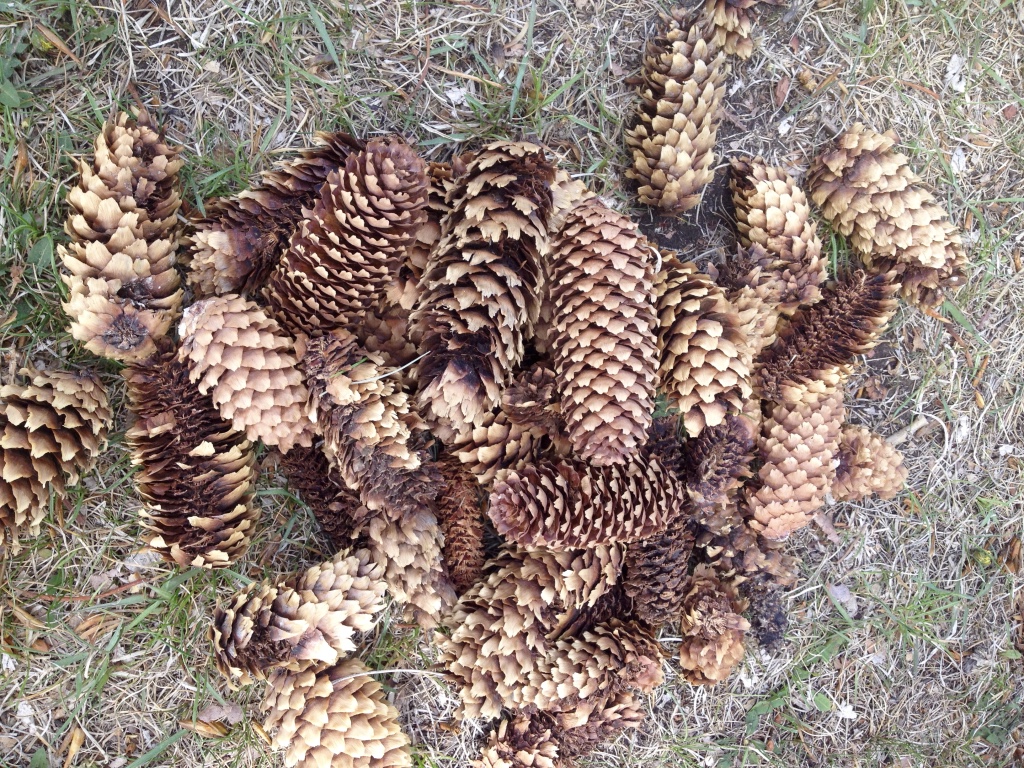
- pinecone
- grass
- bird feather
- pine needles
- small stick
- poplar fluff
- dry leaves
- any other nature items you’d like to add
*Note: when gathering your nature items only pick items up off the ground, breaking branches or picking leaves off trees is not encouraged and could actually damage or kill whatever you’re taking it from.
Part 1:
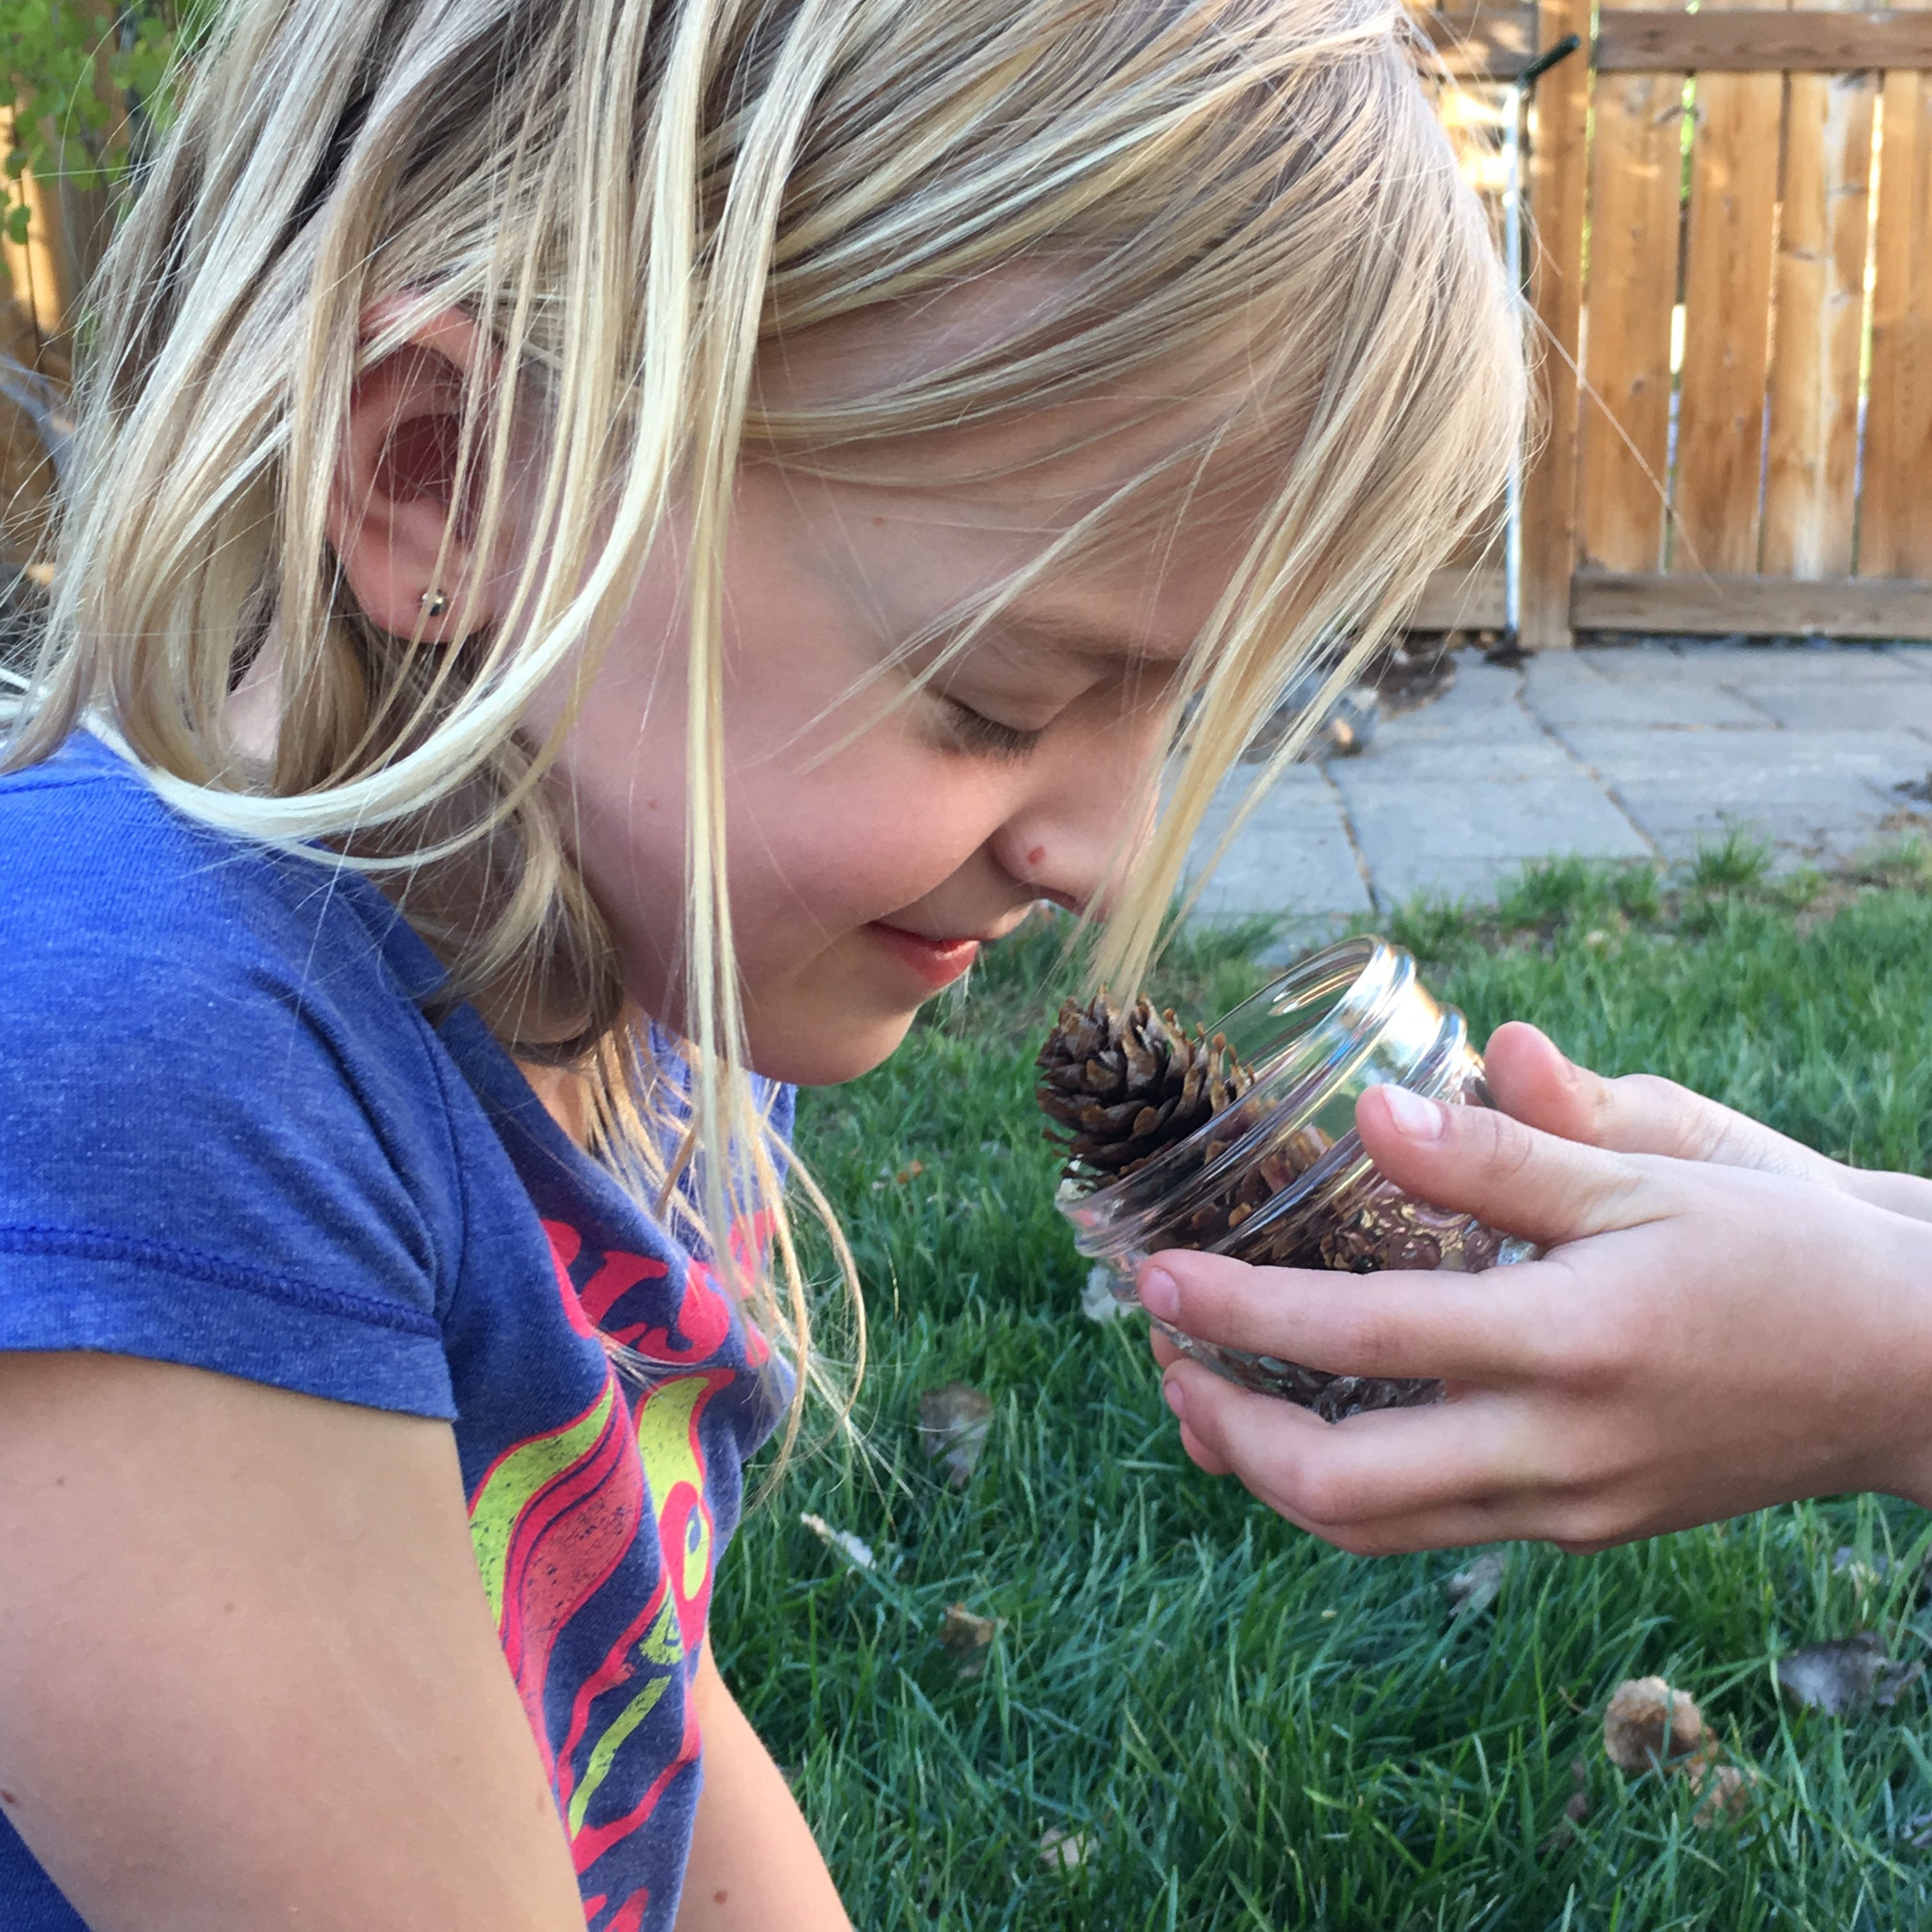
Place one item in each of the containers. Have children sit in a circle with their eyes closed 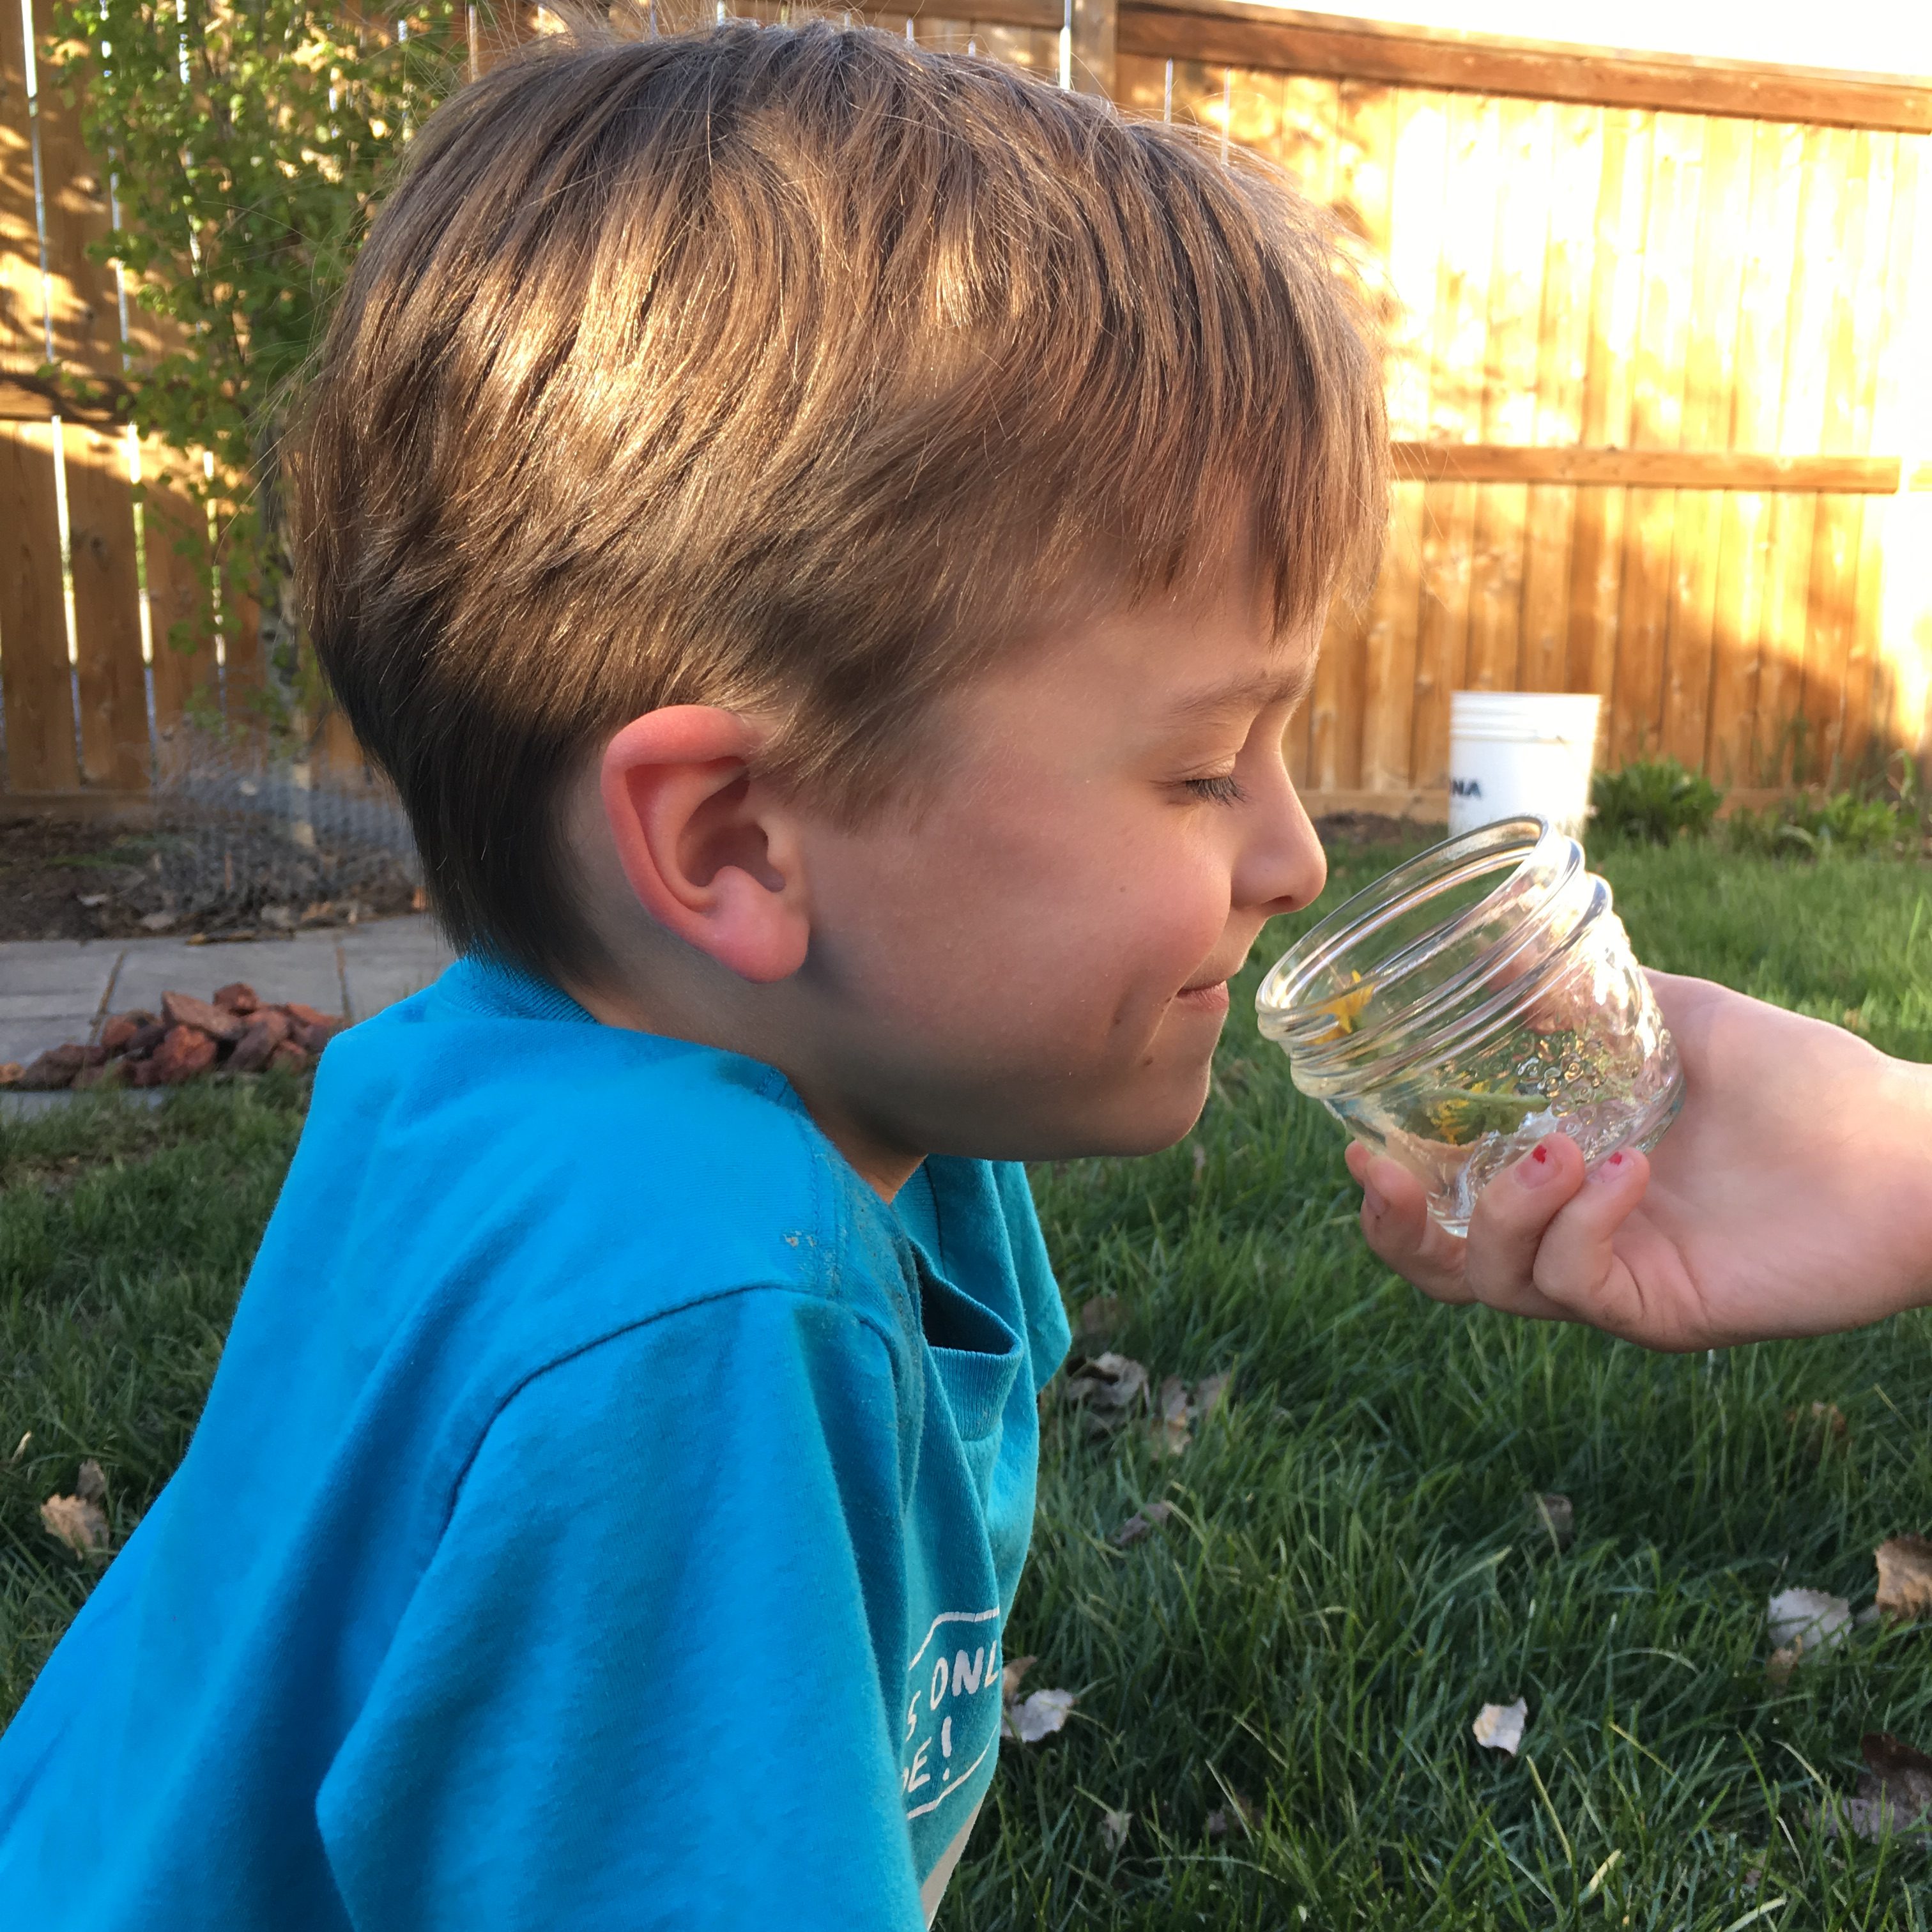 (depending on the age of the children it may be easier and better to use blindfolds so there is no peeking!). With the children remaining in a circle pick one item to start with. Take the item to the first child and hold it gently below their nose and ask them to sniff. Ask the child to guess what it is but keep it to themselves so the other children can have a chance to guess. They will have a chance to guess after each child has sniffed the item.
Once everyone has had a chance to smell the item, then you can go around the circle and ask each child to share their guess. Once everyone has guessed then you can reveal to them what it was by name only (unless you are choosing not to do part 2).
Repeat this with the next item until you have done them all. Depending on the age and attention span of the children you may want to use less items, say only 5 instead of 10, as this may be too long and too many for younger children.
Part 2:
Once you have gone through all the items take the children on a nature walk and encourage them to smell different items along the way. Ask them to find the items that they just smelled in the containers live in nature, determining if it is the right thing by only using their sense of smell. Depending on the area you’re in you might be able to find all of them or only a few. That is ok, they are exploring and learning through their sense of smell and that is the whole point of the activity!
 After your Nature Walk come back to your circle and ask the children a few questions to help them solidify what they have just experienced.
- What smells did they find?
- Did they match the ones in the containers they smelled?
- Where did they find them?
- What was their favorite smell?
- Was there a smell they disliked?
- Can they think of other smells in nature that they did not smell today?
Doing this simple activity helps children to identify and appreciate the different smells in nature, as well as associating with where they can be found. Doing this activity will not only enhance their ability to identify different smells in nature but will add to the overall outdoor experience.
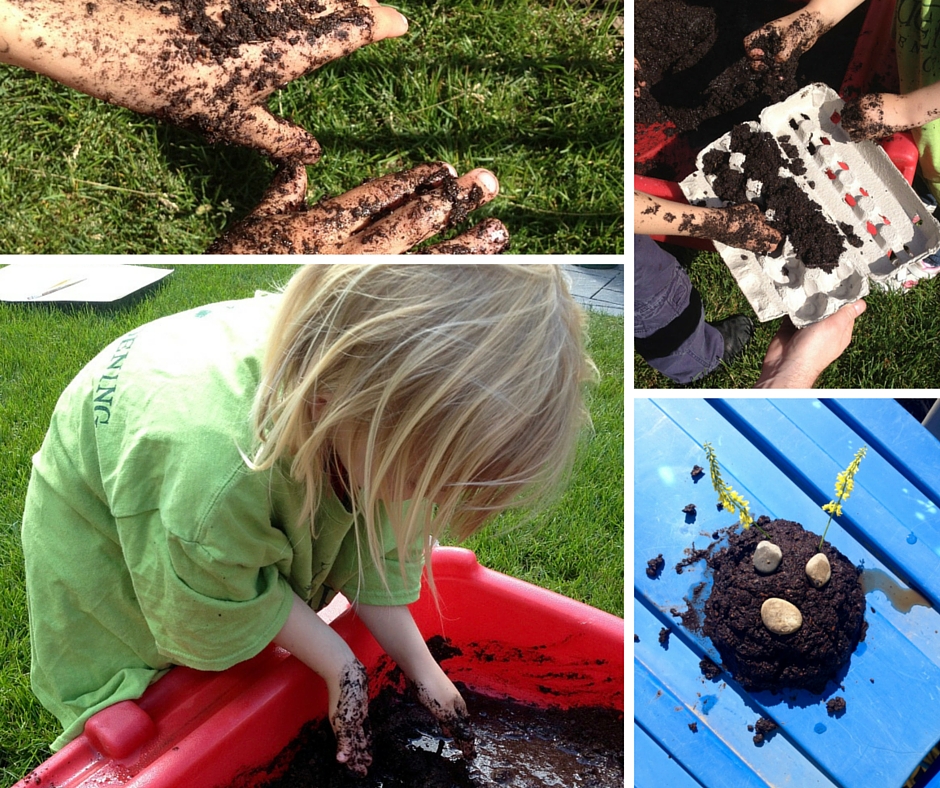
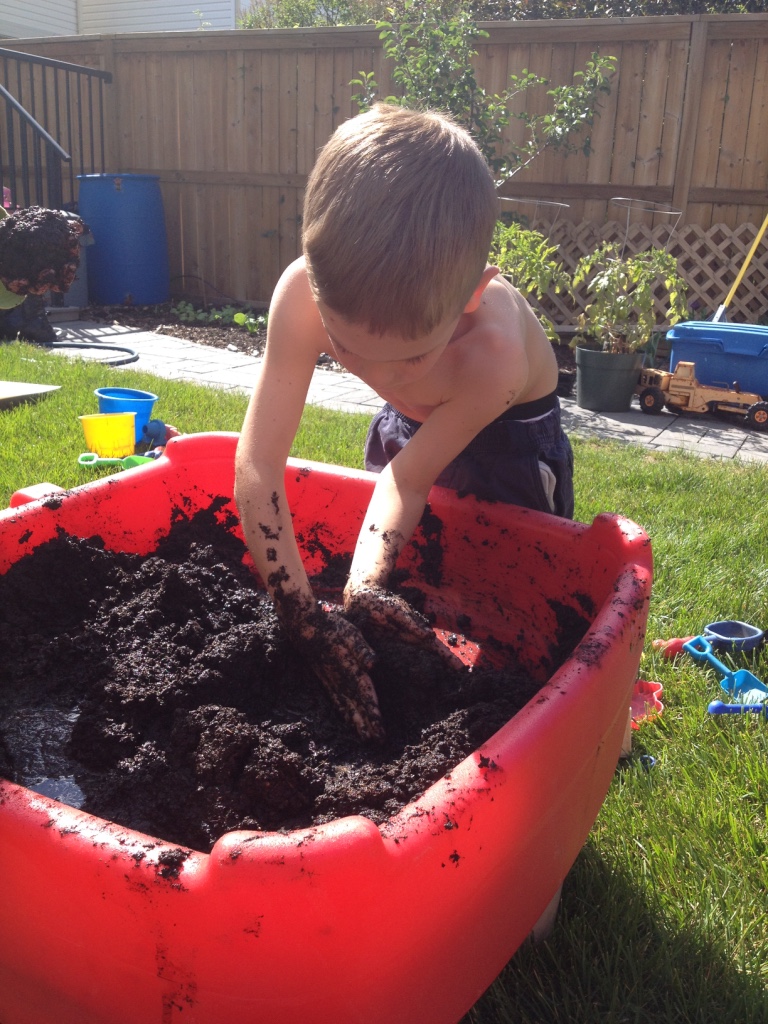
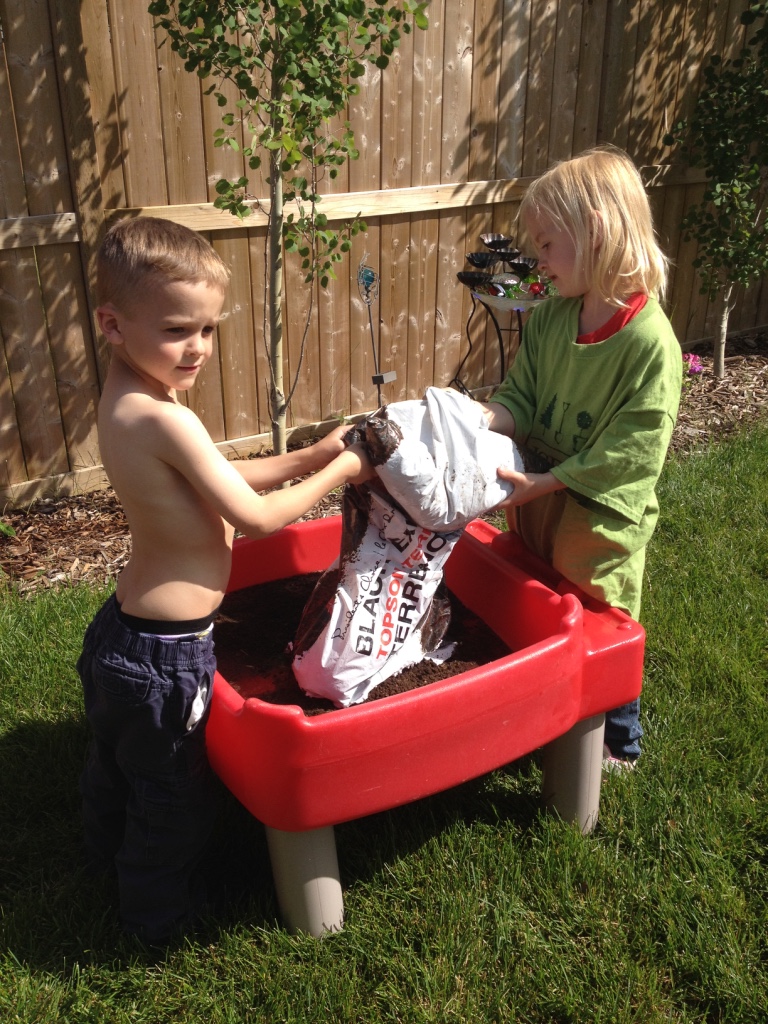
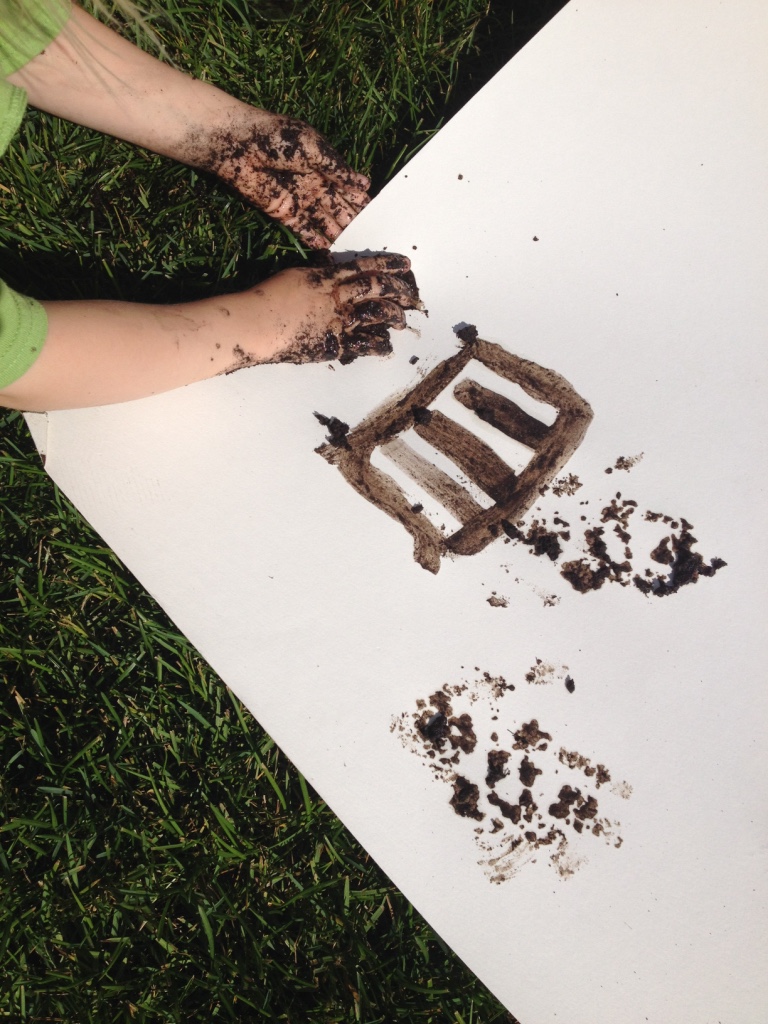
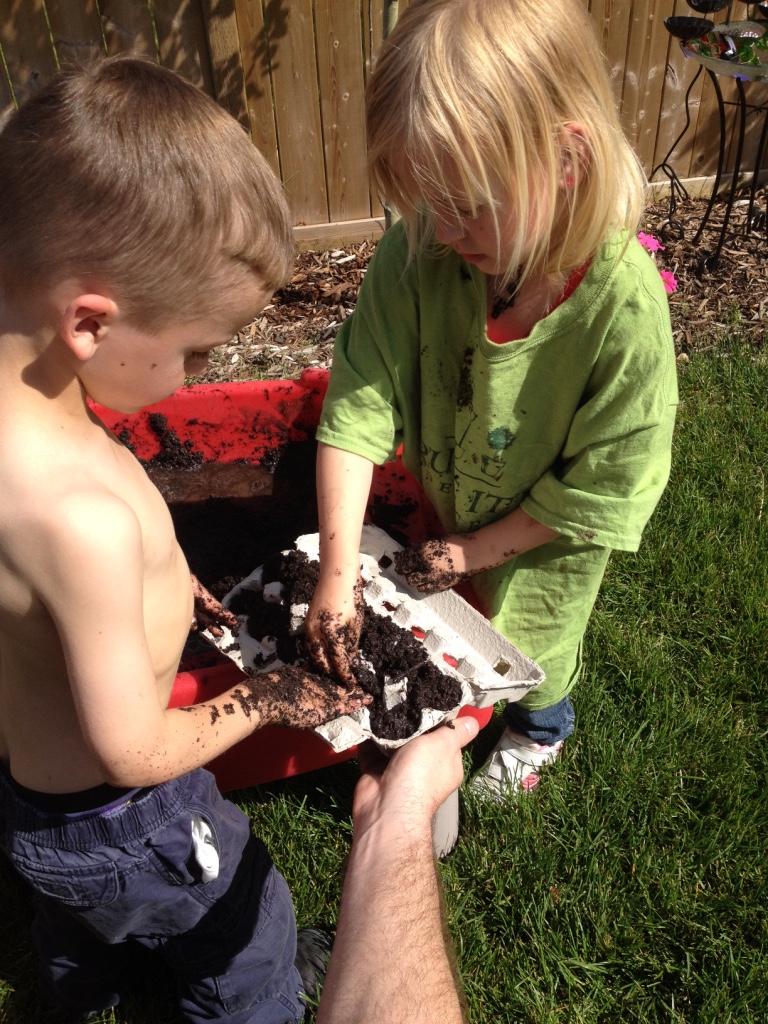
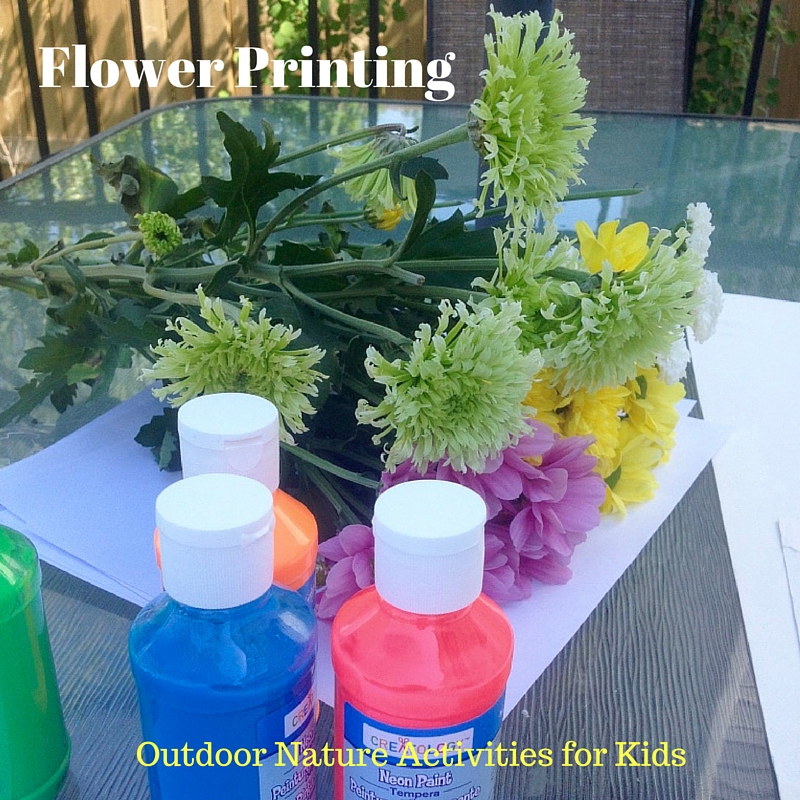
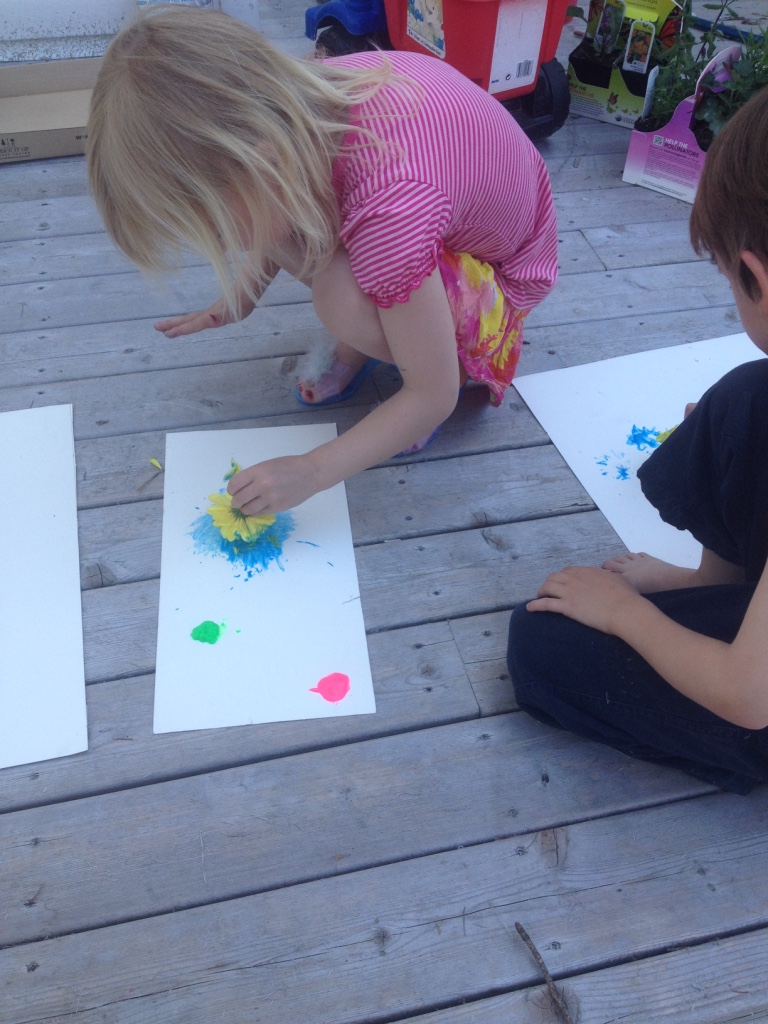
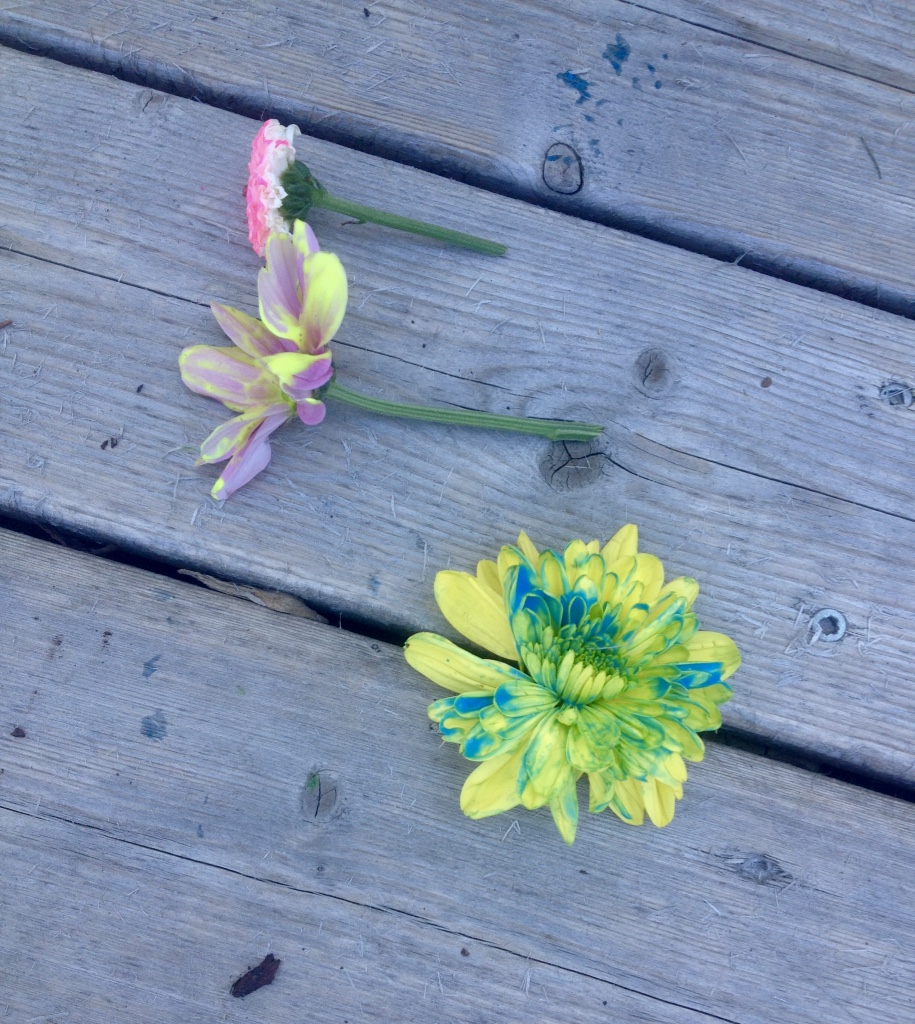
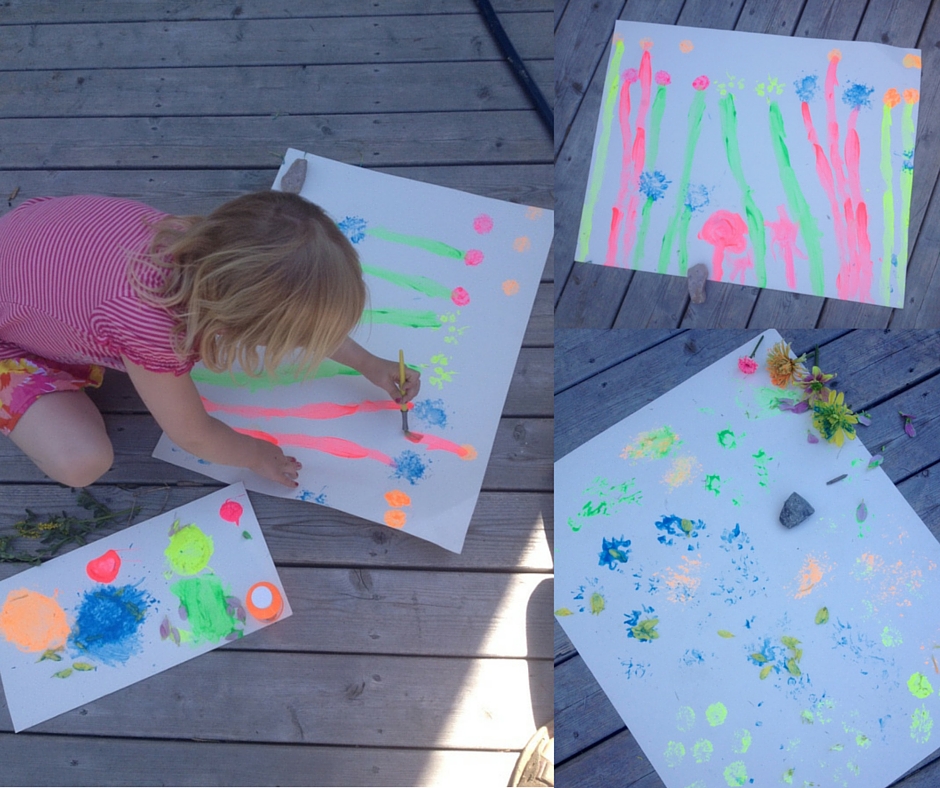
Discover more outdoor activities for kids – try a sound hunt, flower printing, or playing in the mud!