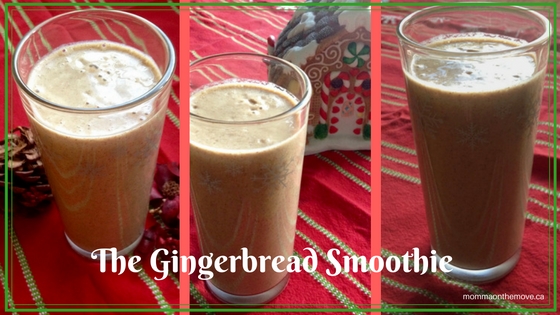
Mornings can often be a rush and a challenge to get everyone a good balanced breakfast and out the door on time, it’s one of the reasons I love Back to School smoothies. They are a quick, easy way to pack a bunch of important nutrients into one glass and start the day right.
If you’re like me you have a love – hate relationship with this time of year. I love that the kids are occupied elsewhere during the day and I can focus on other things, the golden late summer sun and promise of fall in the air. I do not like having to make lunches or get up in the mornings and rush out the door, I prefer a slower pace and making lunch later.
As a result I get up in the mornings with the shortest amount of time I possibly need to get us all fed and out the door (I can do it in about 30 minutes), which often means prepping things the night before and getting creative with breakfasts (this is also why I love overnight oats).
You know what they say breakfast is the most important meal of the day! and I agree a good breakfast sets you up for a good, productive and successful day. This is why smoothies are a great solution. There are all kinds of varieties and combinations so everyone can have something they like; and I can easily make them night before (in it’s entirety or packing the blender and adding the liquid and blend in the morning). They are also portable, so if we’re running short on time we toss the smoothie into a to go glass and take it out the door and no one misses breakfast!
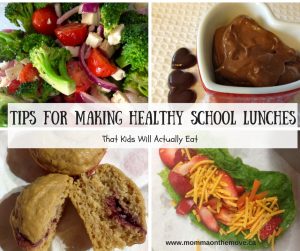
Tips for Making a Healthy and Balanced Morning Smoothie
It’s important to make a smoothie your child likes but it’s also important to keep in mind  these few tips to make it a balanced, filling and energizing smoothie.
- Don’t make it fruit heavy – make sure it’s more than just fruit and milk
- Steer away from the juice – use non dairy milks, coconut water or just water itself to blend your smoothie
- Add in some protein – things like chia, hemp and flax seeds are all excellent sources of protein and when blended into the smoothie are not even noticeable. This also helps you feel fuller longer.
- Add in some greens if you can – I know some kids watch what you do like hawks and if they see one green thing going in there they won’t drink it even if they can’t see or taste it! If you can, adding a handful of greens like spinach, will give them that extra boost for the day.
- Change it up – have a few smoothie recipes on the go for your back to school mornings. Variety is good and keeps kids interested. It’s also helpful as the seasons change and what’s available in season in the grocery stores.
To get you going and inspired, we’re going to share some great Back to School smoothie recipes here on the blog over the next two weeks. Today we’re starting with my Apple Carrot Smoothie, which is a beautiful use of many of the things that are currently being harvested (like the sweet delicious apples from our apple tree).
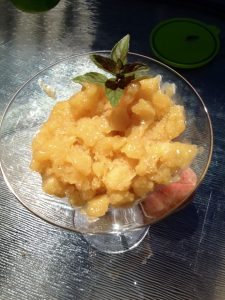
Apple Carrot Smoothie
3 apples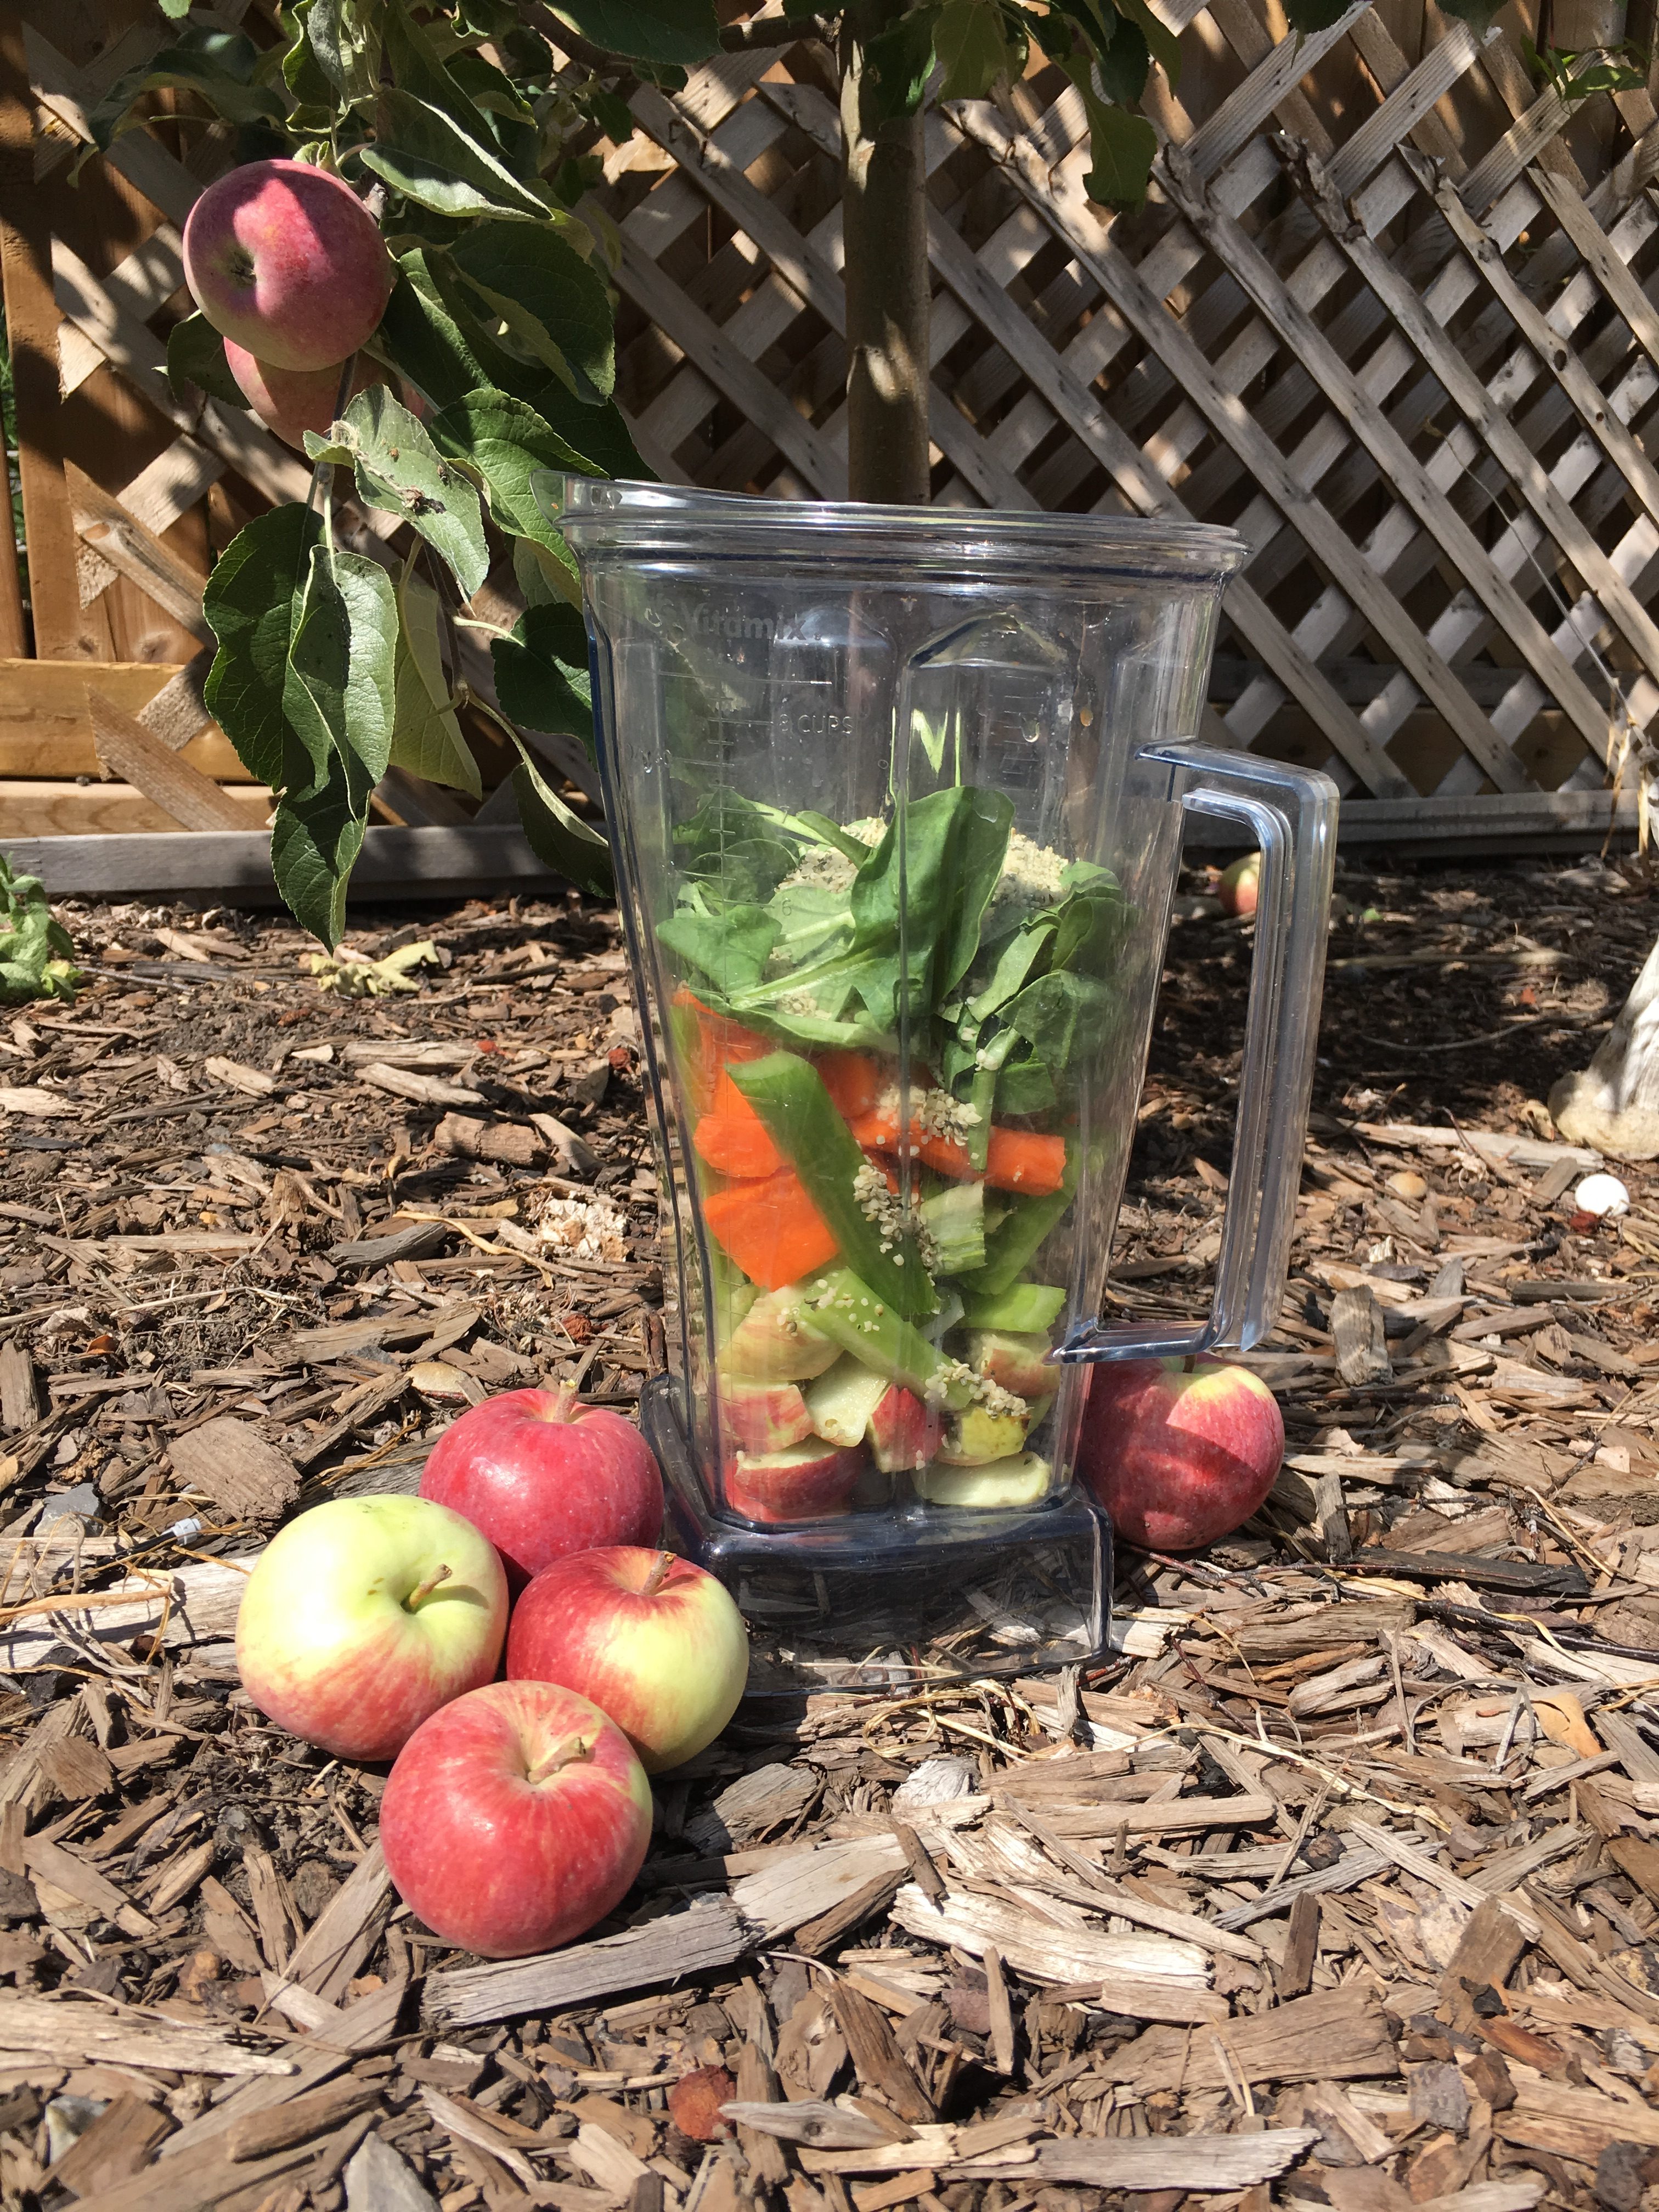
1 stalk of celery
2 carrots
1 handful of spinach
2 tsp. hemp seeds
Water or *coconut water
Put all ingredients into you blender and mix thoroughly til smooth.
Enjoy!
Serves 3
*coconut water is high in carbohydrates, potassium, magnesium and fiber. It has a sweet nutty distinct flavor so test it with your kids (a small sip in a separate glass) before adding it to the smoothie
And smoothies aren’t just for kids or breakfast! These are great for adults too and as snacks or a pick me up during the day.
Coming up next… the Peanut Butter Smoothie