Delicious Blueberry Pie – Sugar Free & Naturally Sweetened

sugar free blueberry pie

Fresh blueberries are a popular summer treat. Those succulent little juicy berries are delicious and nutritious with many health benefits. Blueberries are one of the richest food source of Anthocyanins, a plant compound which gives it it’s blue color and it’s many health benefits. They have been shown to benefit heart health, bone strength, mental health, cancer, healthy blood pressure and are extremely high in antioxidants. Who knew these little blue berries could pack such a punch?

I often buy copious amounts of blueberries in the summer and do all kinds of things with them. From simply eating them straight to freezing them for later, to muffins and smoothie combinations. One of the things that I hadn’t done for a while though was to make a blueberry pie. I have no idea why, as I make all other kinds of pies in the summer like cherry and peach. I guess I somehow had it in my head that I should freeze them all and that they were too small to make a pie out of. (This could relate to the many summers my sisters and I would go up to the blueberry patch on the barrens to pick blueberries – with intentions of picking enough to make a pie. It took us hours to get the amount we needed and sometimes we were not able to get enough).

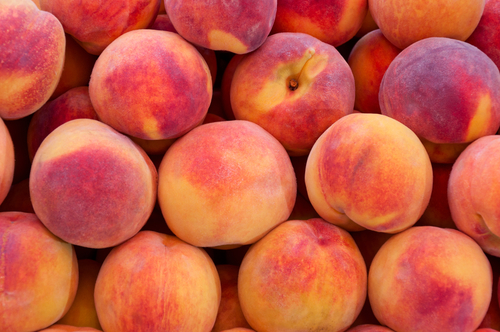
But this year, when I did my regular purchase of fresh Okanagan fruit I decided that I needed blueberries as well and was definitely going to make a sugar free blueberry pie! (In fact, I even went back to the fruit stand before we left Oliver to get the blueberries as I had not purchased them the day before when I got the peaches and cherries).

sugar free blueberry pieOf course, I had to create a recipe that was sugar free, which by now has become fairly easy to do after many years of being sugar free and using natural sweeteners. Honey is my favorite sweetener due to its many health benefits and being one of the more natural sweeteners (things like stevia and agave nectar are still processed and under controversy as to whether or not they are any better than using refined sugar).

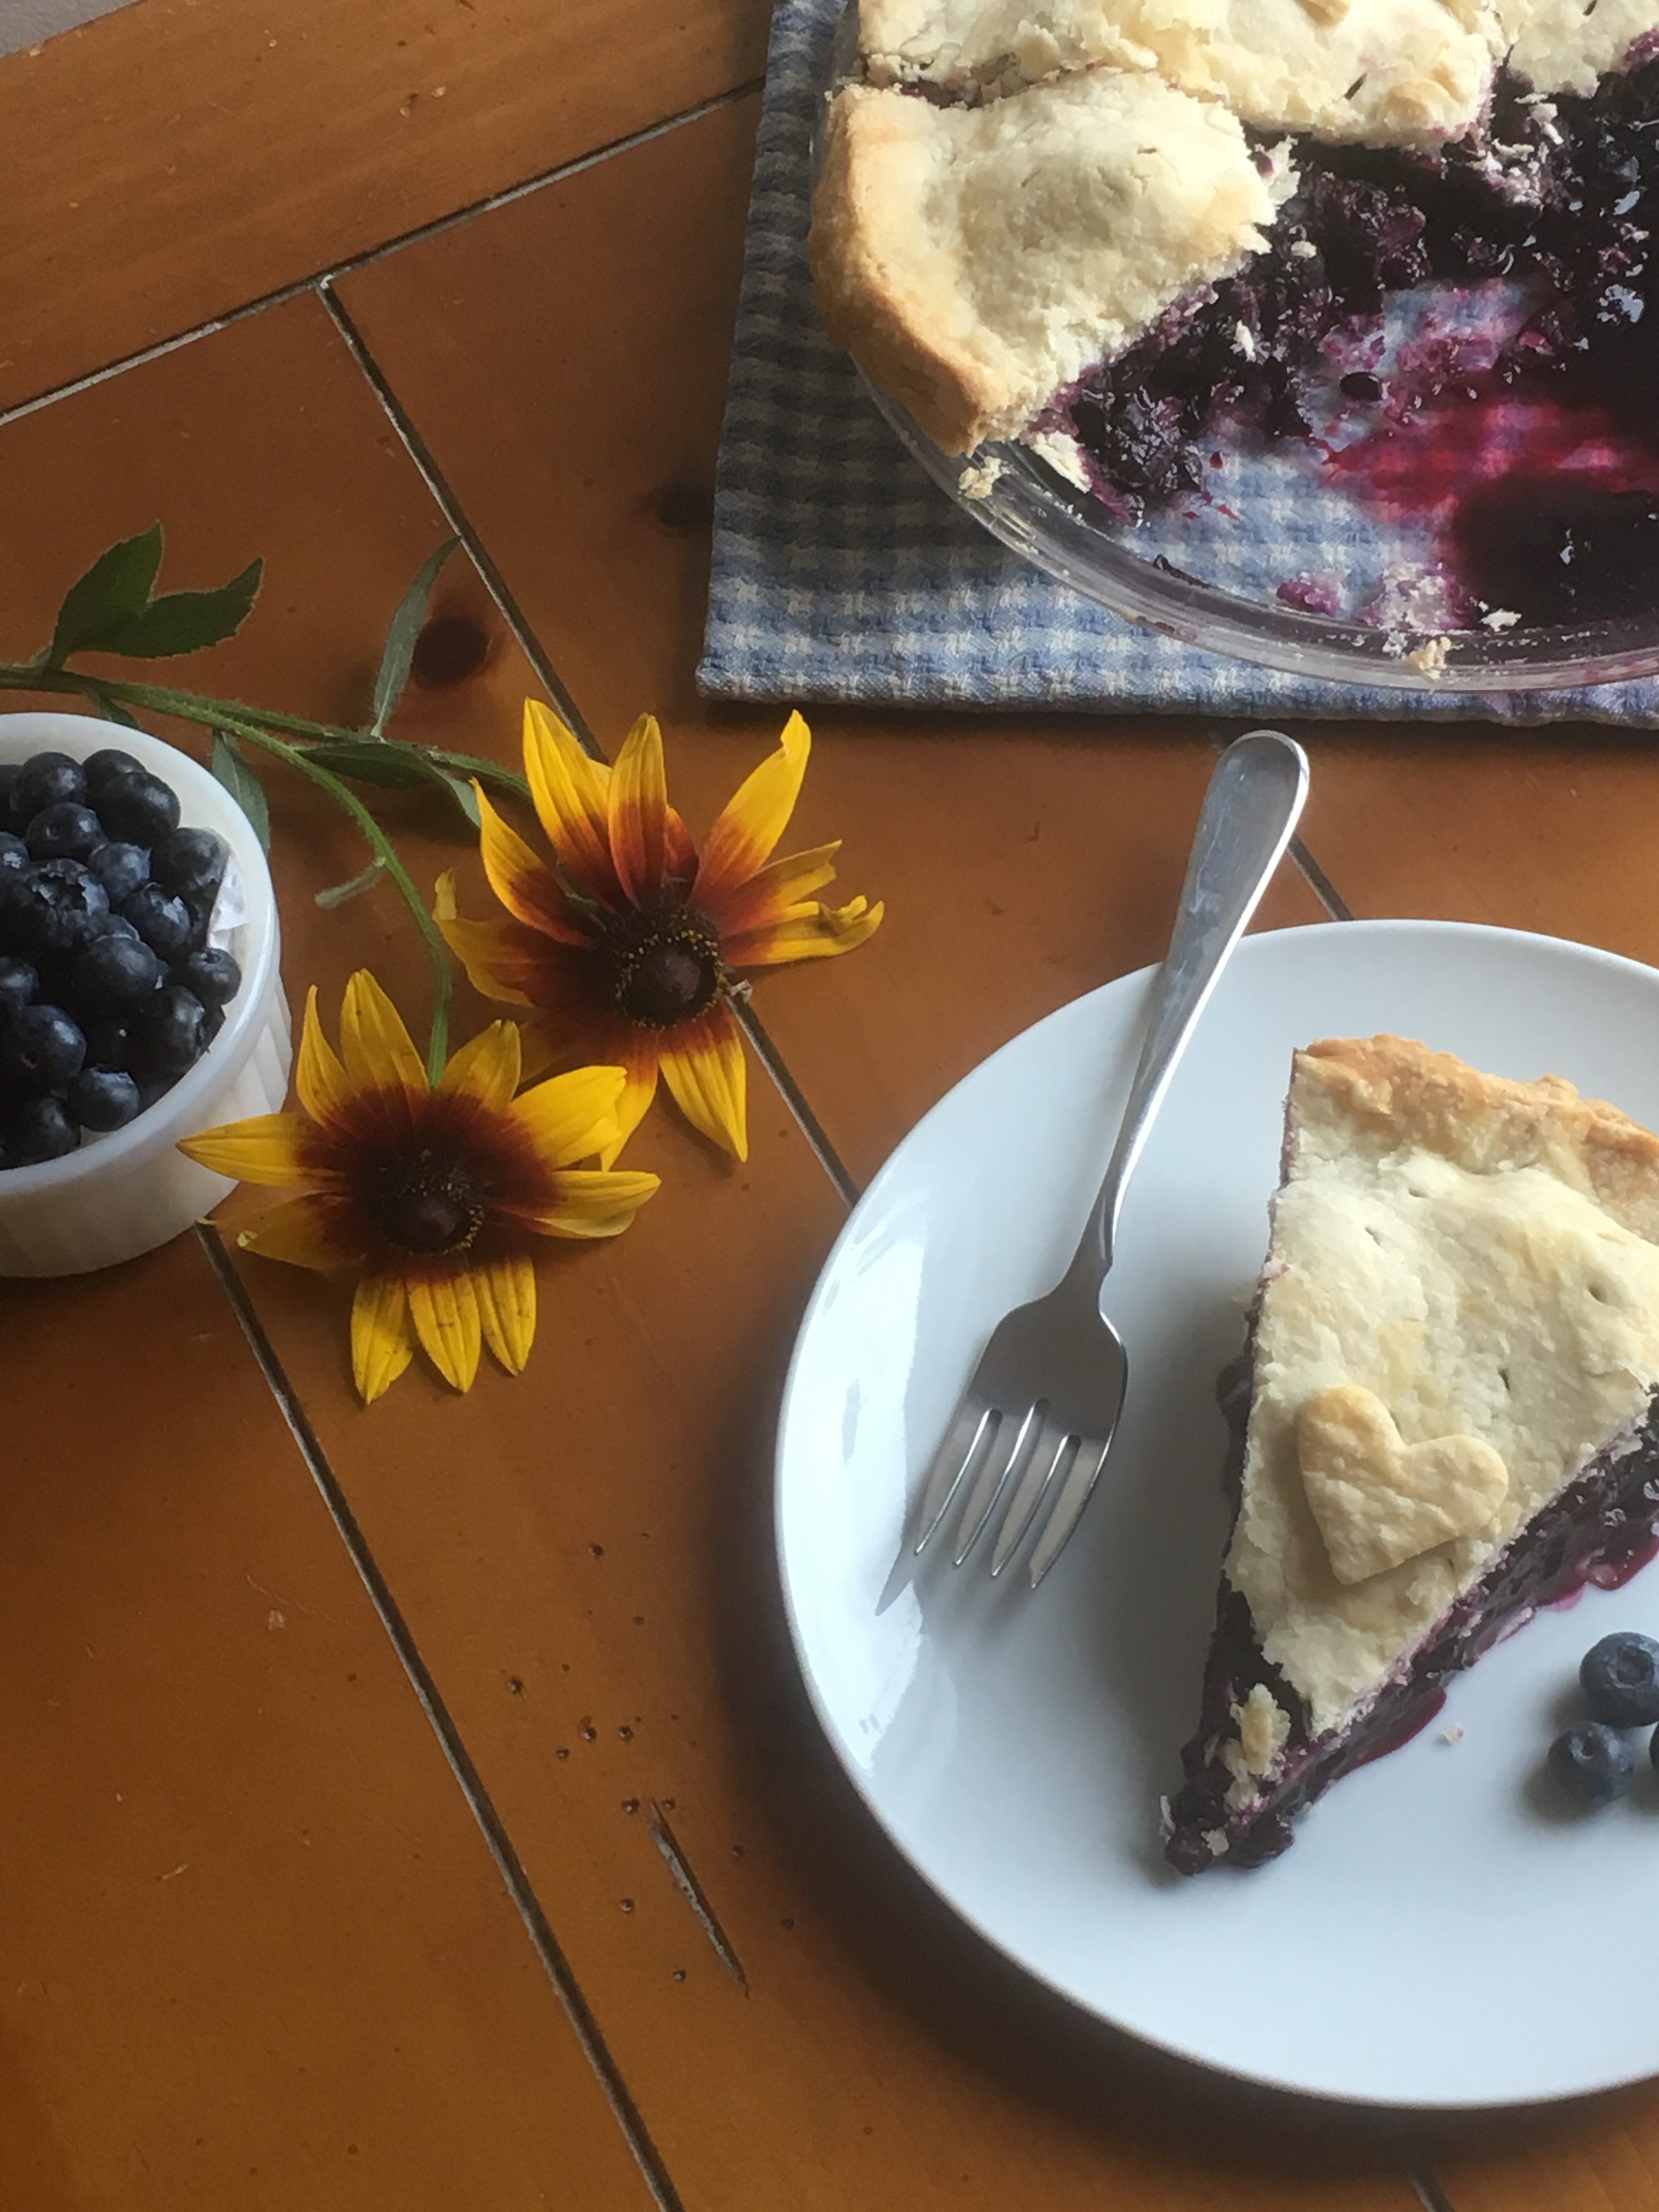
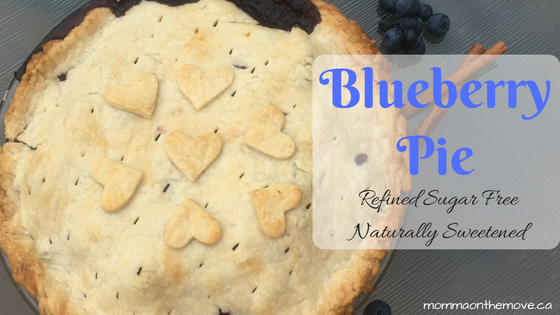
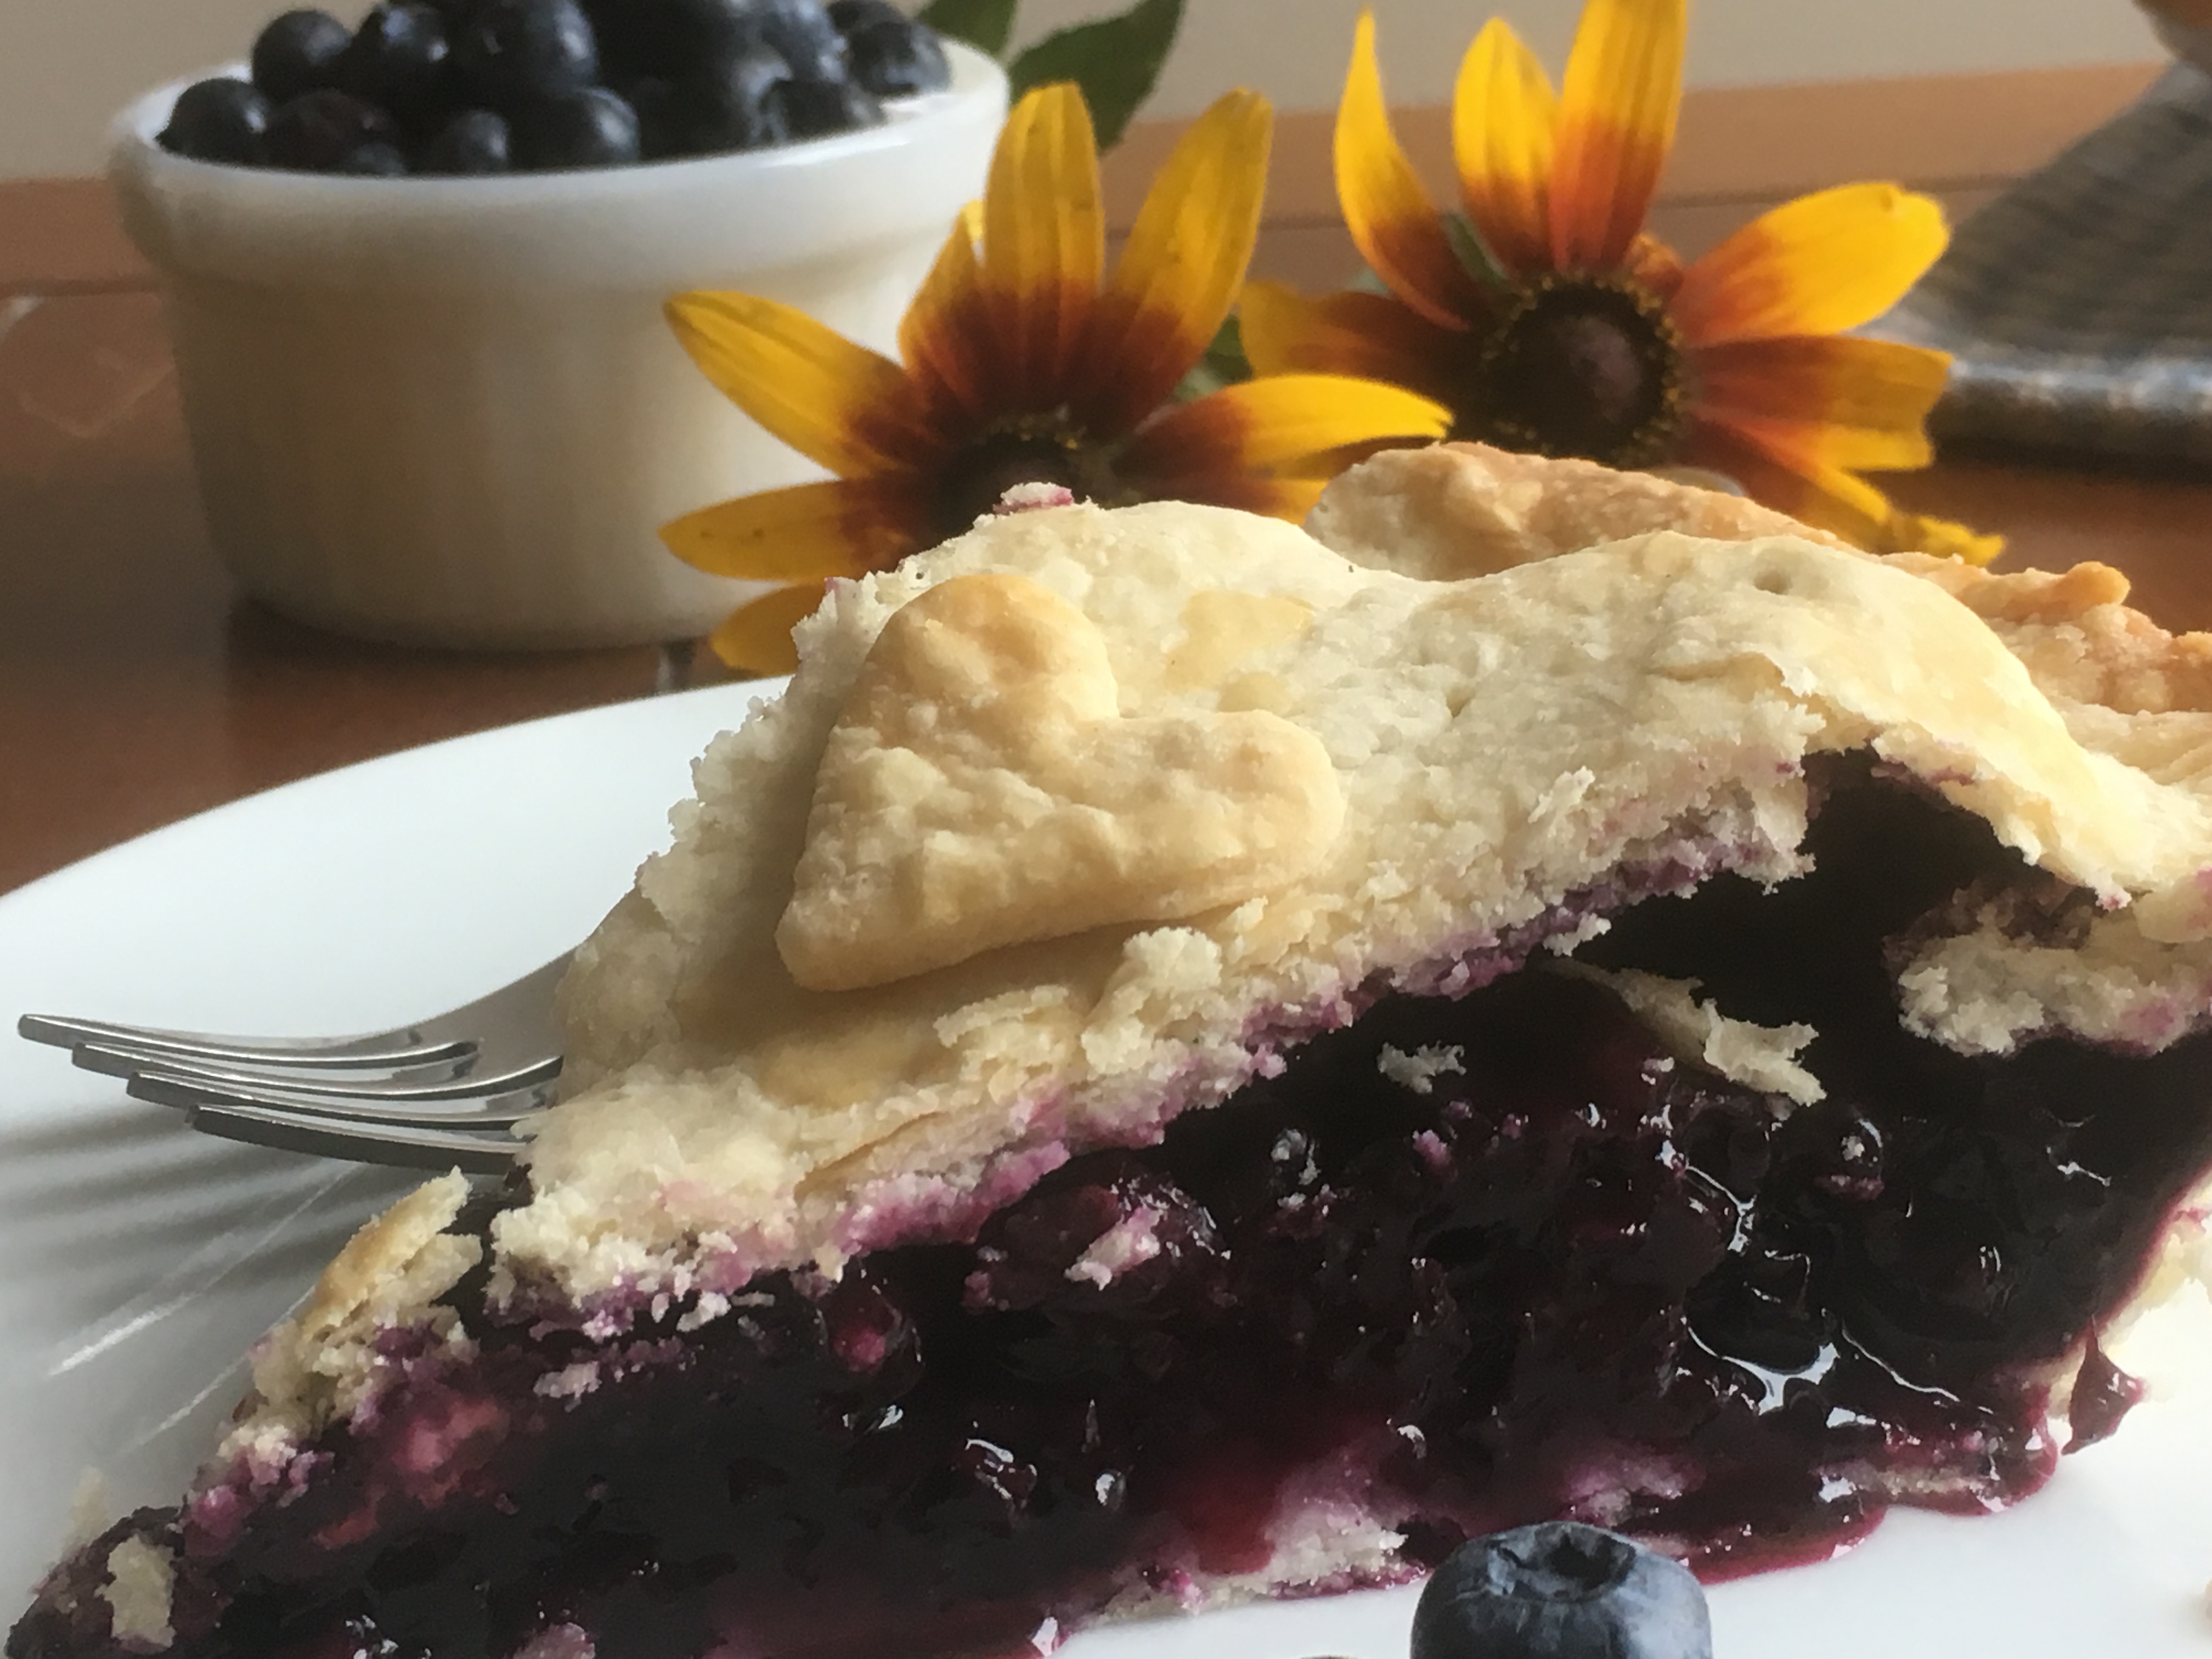
I played a little bit, taking a bit of this and that from a few recipes and then combining and modifying ingredients to make my own. I even got a little fancy with the crust by creating a full top and then adding small shaped hearts on top (believe me I do not always have the time or the desire to do this).

The kids of course waited in anticipation as the pie baked. Turning on the light in the oven to check on it and see if it was ready. Chloe even remarked on the little hearts and thought that was a good idea (she likes to create other shapes and treats with the leftover pastry – you know the pieces that are left over but are too small to really do much with, but you hate to throw out?)

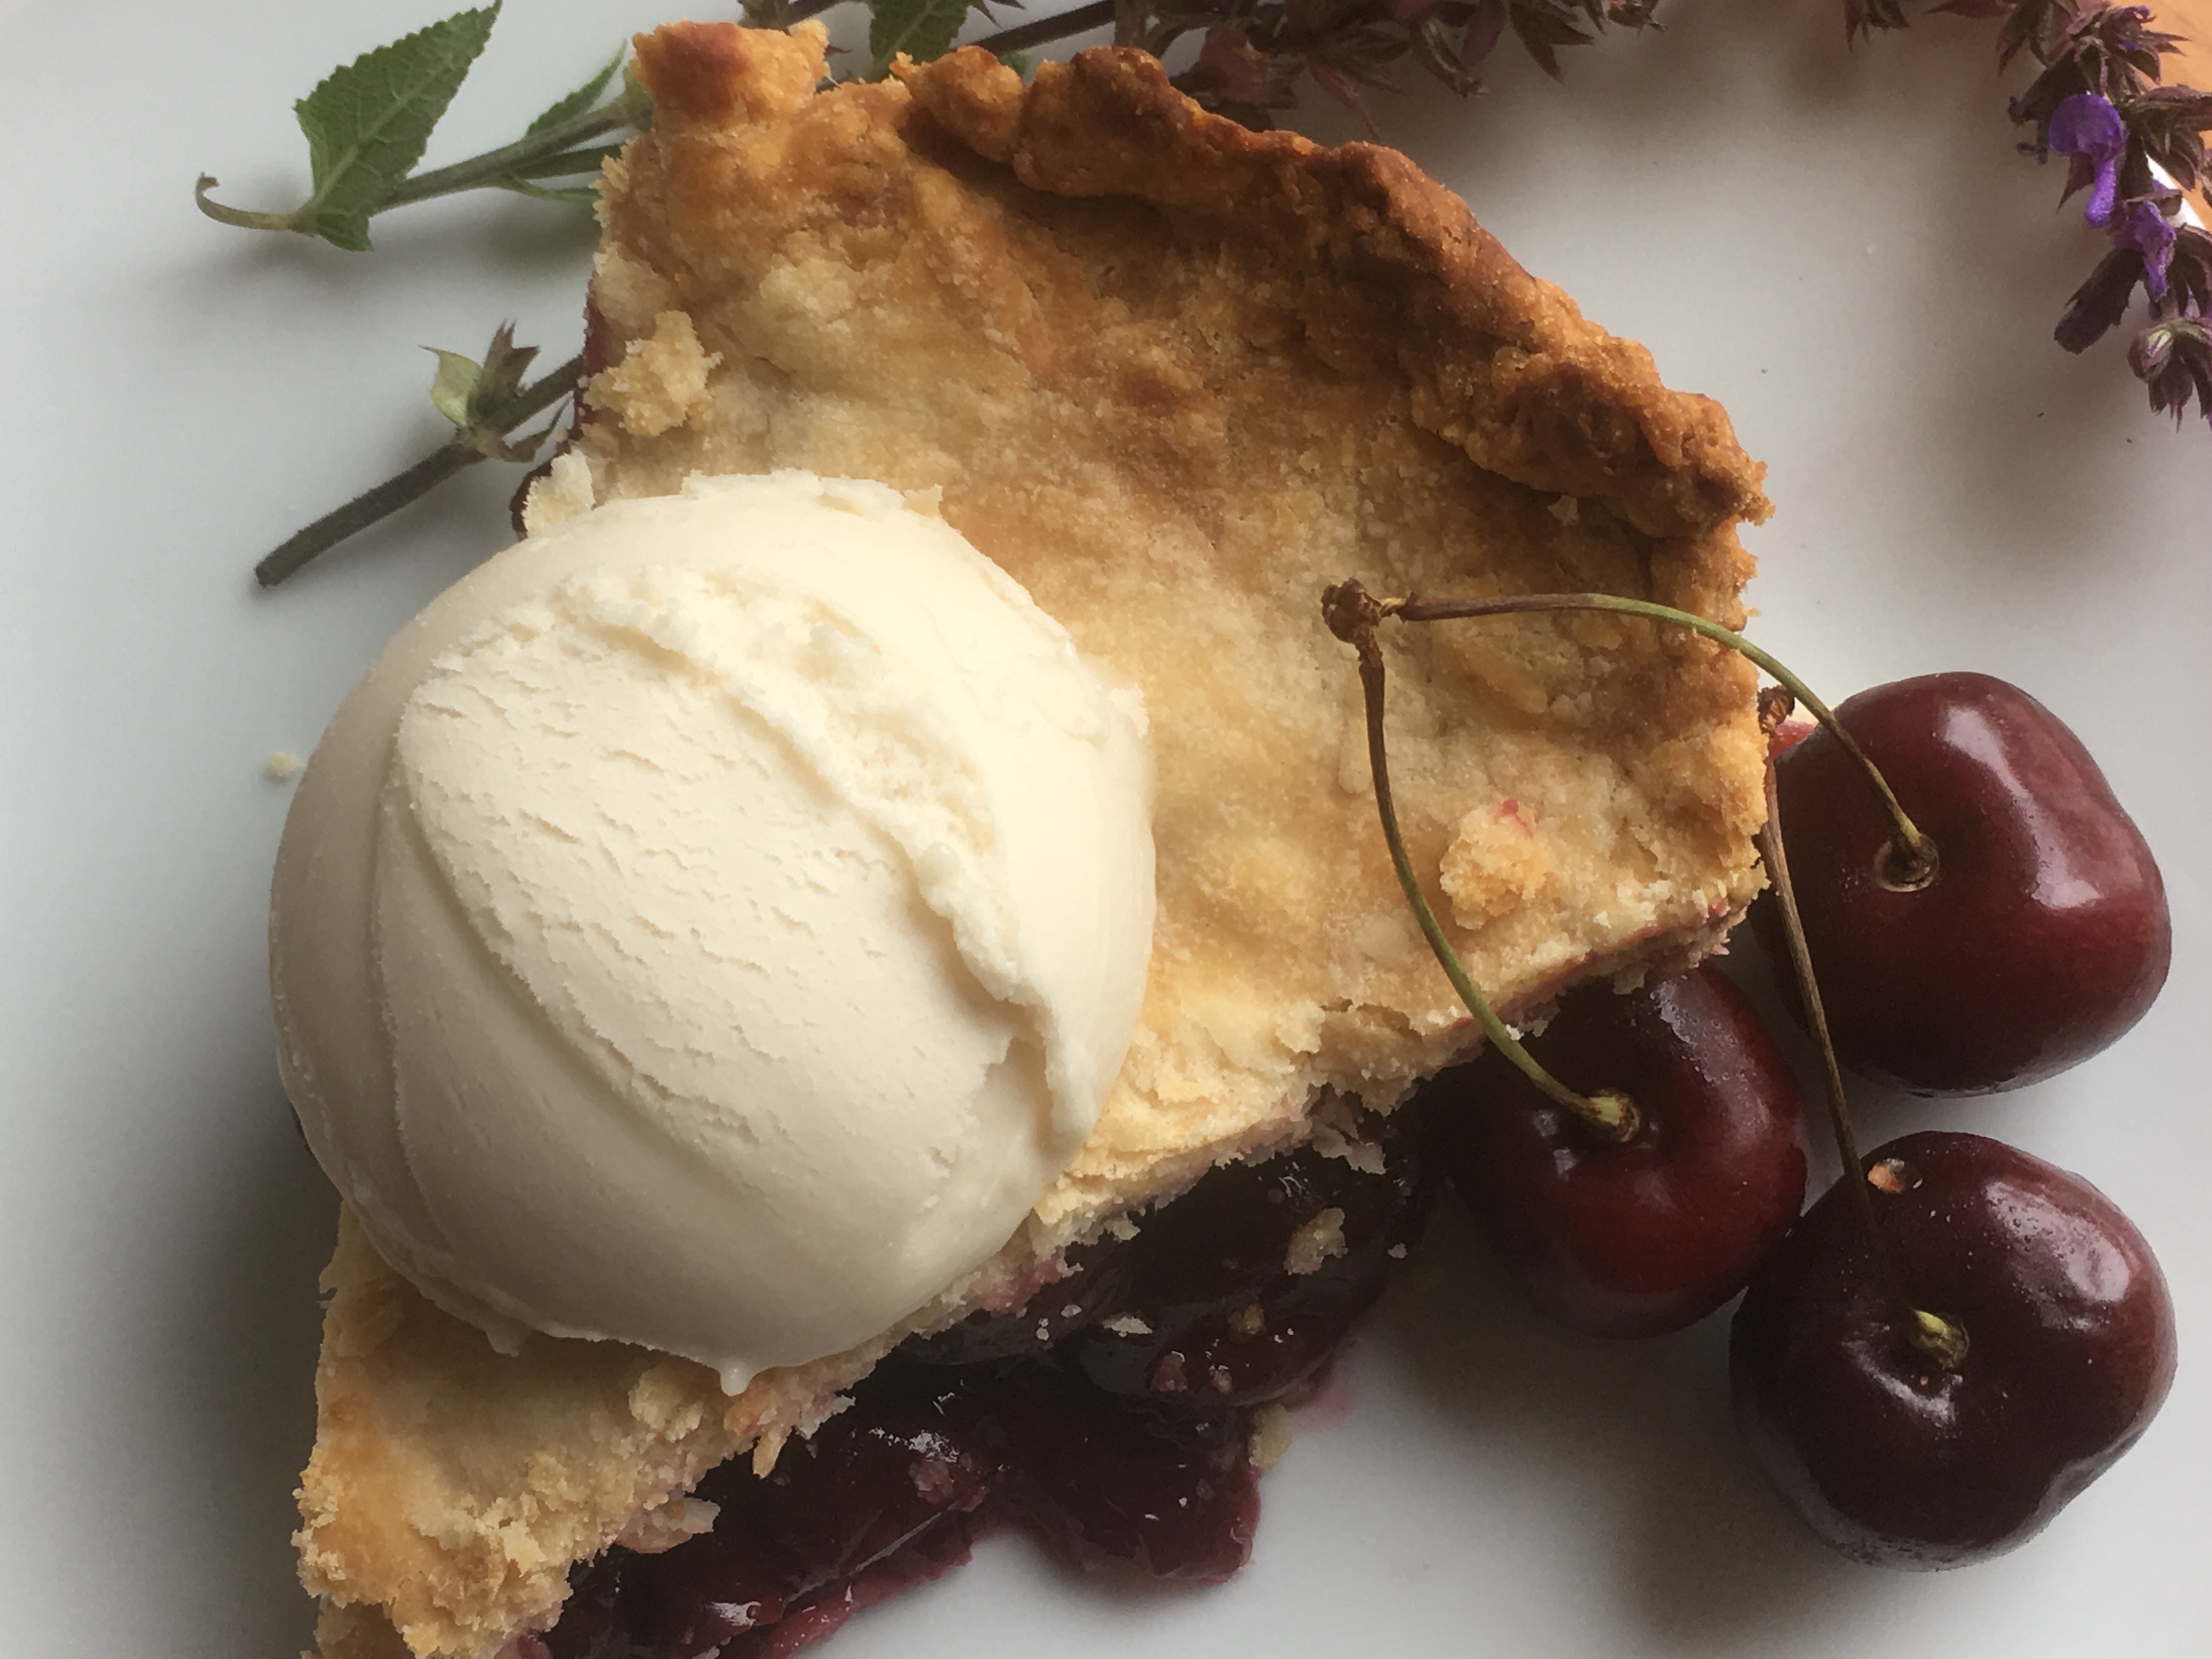
Once the pie was ready and we let it cool – well enough to cut anyway – we dove in! I had forgotten how much I enjoyed blueberry pie and also how much easier it is to make than other pies like cherry and peach where you have to chop and pit the fruit first. Blueberries you just wash and pour them in.

Unfortunately we didn’t have any ice cream on hand (but decided not to wait to get that organized) and fully enjoyed it anyways! In fact, the kids asked hopefully if they could have a piece for breakfast. I said I’d think about it…

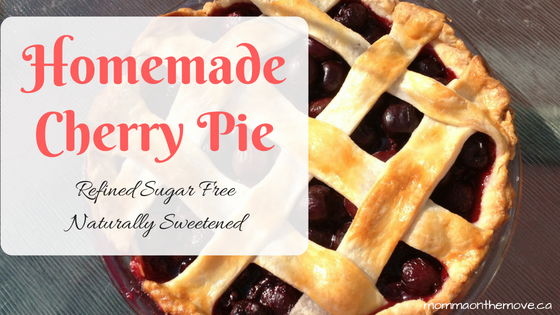
Sugar Free Blueberry Pie

2 – 9 inch pie crusts

sugar free blueberry pie5 c. fresh blueberries

3 tbsp arrowroot powder

1/4 tsp salt

1/2 tsp lemon zest

1/2 tsp cinnamon (or 1 drop cinnamon bark essential oil)

1/4 – 1/3 c. liquid honey

Prepare pie crust – whether you are making your own or have purchased pre made. If you have made your own roll out crust and fit to bottom of pie plate. Crust should cover the bottom and up the sides and over the edges slightly.

Place fresh blueberries in bottom pie crust. Mix together cinnamon, salt and arrowroot powder together and sprinkle over blueberries (if you are using cinnamon bark essential oil in place of ground cinnamon omit here and add essential oil to honey before drizzling over blueberries). Measure honey (1/4 -1/3 cup depending on desired level of sweetness) and drizzle evenly over the blueberries.

Roll out second pie crust to cover the blueberries and to the edges of the crust. Leave enough so that you can press the crusts together and crimp the edges. If using pre made crust, place and fit crust over fruit similarly.

With a knife make small slits in top of crust – this is to allow for air and for juices to bubble. Place in a pre heated 425 F oven and bake for 10 minutes. After 10 minutes reduce heat to 375 F and bake for another 40 – 45 minutes until crust is golden brown.

Remove from oven and let cool. *Note you can cut pie while still warm but it will not have set and will likely have juices running out. Let cool completely if you’d like it set and to avoid this.

Yum! Enjoy 🙂sugar free blueberry pie


Frozen Sweet Treats – Peach Slush

peach slushA highlight for many in the summer is slushy frozen drinks. Often times we would simply pop to the 7-11 and grab a slushy, but once I started paying more attention to what actually went into these slushies (can we say mountains of sugar and artificial flavors?) I was on the hunt for a slushy recipe that I could easily make at home (and without all the sugar!)

When I started browsing for ideas I came across this recipe for a peach slush; which it turned out I had already saved a while back in my recipes to try. It was also the perfect time to try it as we had just returned from the Okanagan with a mountain of fresh peaches.There is nothing like using your fresh fruit to make your delectable treats! It was a perfect fit. Peaches are also rich in vitamins such as Vitamin A, beta carotene and Vitamin C, as well as many minerals so super good for you!

At first I was a little hesitant to make it cause though it was a quick mix of ingredients in the blender, it was the 1 to 2 hours of waiting and stirring that deterred me a little bit. I kind of like instant! Plus I sometimes forget when I have to pay attention to things to stir every so often. But I found a way to make it work and honestly it was not that bad. Plus it makes a great easy, healthy, naturally sweetened frozen treat that you can make and enjoy at home.

The original recipe did not call for any sweetener but I found it needed just a little bit so I added in a teaspoon of honey. Depending on your level of desired sweetness will depend on whether you opt in to add it yourself. I can also see this recipe working well with other fruit such as strawberries, raspberries, maybe even watermelon.

Of course the kids enjoyed it. They are great little testers of Mom’s new recipes and help me adjust it when needed. Try it out and let me know what you think.

Peach Slush

2 fresh peaches, peeled and chopped

1/8 c. waterpeach slush

1 tsp. honey

1 tsp. fresh lime juice

Peel peaches by putting them in boiling water for 30 seconds. Chop peaches into chunks and put in a blender.

Add water, honey and lime juice. Blend until smooth consistency.

Pour into a 9×13 pan and freeze in freezer for one to two hours. Stir a few times so that it does not freeze into a solid block.

When ready stir and whip it up with a fork so it has a nice slushy consistency.

Serve immediately in a cold dish. Makes 2 small servings

Have a great slush recipe? Share in the comments below.

Frozen Sweet Treats – The Fresh Fruitsicle

frozen sweet treats

One of the things that is great about summer is the delicious frozen sweet treats that you get to enjoy on a hot summer’s day. Creamy fudgsicles, ice cream, freezies, slushies, popsicles and more all offer a refreshing cooling treat.

The trouble is with most frozen sweet treats is the amount of added sugar (and color) that is in them to make them ‘sweet’. Don’t get me wrong, I love a sweet treat just as much as the other guy, but in eliminating refined sugar at our house, we have learned not only how to naturally sweeten our treats, but also that we don’t need it as sweet anymore. Our tastebuds have adjusted and we enjoy the natural flavors and sweetness of fruit (and foods) without the added sugars.

frozen sweet treatsWhen I was growing up it was not uncommon for my mother to make popsicles simply by pouring fruit juice into popsicle molds and freezing them. As long as the juice was unsweetened we were already enjoying a yummy cooling sugar free treat.

When I became a mother I made these kinds of popsicles for my kids as well. The thing is, I often found that once you sucked on them for a while, all the juice was gone and you were left with ice on a stick. I was looking for a frozen sweet treat that would have flavor all the way through and of course, naturally sweetened.

My first discovery was Grasshopper Popsicles, a mixture of blackberries and spinach, yes I said spinach, and a few other ingredients to put it all together. For a while this was our staple popsicle, which the kids really enjoyed. It was my mother when visiting one summer, who introduced us to this simple creamy popsicle that has added a little more variety to our popsicle pickings.

The Fruitsicle, as she calls it, is a fruity, creamy, dairy free, sugar free popsicle that is super easy to make. You just put all the ingredients into the blender and mix, then pour into the popsicle molds and wait for it to freeze. (The waiting is the hardest part, my kids were continually asking me if they were ready yet).

The Fresh Fruitsicle

1-2 cups fresh strawberries, trimmedfrozen sweet treats

1 ripe banana, peeled and cut into chunks

½ cup coconut milk

1 to 2 tablespoons raw honey

Put all ingredients into blender and blend until smooth. Pour mixture into popsicle molds and freeze for 6-8 hours or overnight.

*if you’d like your popsicle to be a little sweeter simply add more honey or more strawberries to the mix

Makes 8-9 popsicles depending on the size of your popsicle mold

Easy Strawberry Banana Dairy Free Ice Cream Recipe

One of the things I definitely miss going dairy free is ice cream. A regular staple at my house when growing up; we often had it after supper, asking my parents hopefully if we could have some. Unless we were out, they usually said yes. Knowing that this was one thing I could not give up completely I set out to find some dairy free ice cream recipes.

dairy free ice cream recipeWhen I first started searching for dairy free ice cream recipes I thought that I would always have to make it in an ice cream maker using some kind of dairy free milk and natural sweetener. But what I have discovered is it can be even simpler than that. In fact it is so easy to make a great creamy, dairy free sugar free ice cream that as soon as you’re done reading this post, you’ll probably hop up and make some. Five minutes, maybe less, honestly you’ll be done.

Not to say that using an ice cream maker and an alternative dairy free milk is not a good option. In fact, I have some super yummy ice cream recipes made with coconut milk, like the peanut butter ice cream, that is so creamy and delicious it is worth the few extra minutes to make it. But sometimes you just want a quick treat. Not too much work and not too much thought being put into it. This is why I like this recipe for a dairy free strawberry banana ice cream. Super simple, super tasty and the only thought you have to put into it is do I have frozen bananas?

Dairy Free Strawberry Banana Ice Cream

This easy dairy free ice cream recipe gives you a nice soft serve ice cream in less than five minutes

dairy free ice cream recipe1 frozen banana (*peel banana before putting into freezer)

1 c. frozen strawberries

Put frozen banana and frozen strawberries into Vitamix blender. (If you do not have a Vitamix, a high powered blender of some kind is recommended due to the fruit being frozen and to prevent burning out your blender. If you have a standard blender, just proceed slower or blend fruit in smaller amounts to prevent burnout). Turn Vitamix on starting at low speed and slowly turn up to high. You may need to use tamper to push frozen fruit down to thoroughly mix. Once you have a soft serve consistency ice cream is ready to serve. Scoop into bowls and enjoy!

This dairy free ice cream recipe can also be made with different kinds of fruit, substituting the strawberries for raspberries or mango, etc. We have found though that the banana is a key part of the recipe in order to get that nice ice cream consistency and should always be present.

This is also a great recipe to make with kids as it is super easy for them to help with by putting the fruit into the blender or turning it on under the direction of an adult. It’s perfect for a hot summer day when you want a yummy cool treat and super quick to make. With just a little pre planning by having frozen fruit ready in the freezer you can literally whip it out in no time!

Summer Treats – Sugar Free Cherry Pie

sugar free cherry pie

One of the things I love about summer is all the fresh fruit that is available. Cherries, peaches, strawberries, blueberries, etc. It’s abundantly available, and it’s fresh, sweet and luscious, a taste sensation when you put it in your mouth.

I feel lucky that my parents live in the Okanagan where fresh fruit is rapidly abundant. Fruit stands and u-picks line the sides of the roads where it is not a matter if there is fruit but where you would like to get it from.

I always tend to get a little over zealous and buy lots of fruit to bring home. I make jam, freeze, eat it straight or make various desserts like crumbles and pies.

In fact last weekend when I was in the Okanagan I bought 20 lbs of cherries for $20. It was a steal of a deal! The only thing is when you buy that much fresh fruit you have to do something with it fairly quickly or your ‘steal of a deal’ ends up going rotten and moldy very quickly.

sugar free cherry pieSo there I was Tuesday night for 3 hours pitting and jamming cherries, trying to give some away to friends, and getting creative with what I was going to do with this fruit.

(I would highly recommend using a cherry pitter as this makes it much easier to pit cherries. It is also something the kids can do and help with – my son loves using the cherry pitter and I can easily enlist his help).

By the time I was done I was covered in cherry juice (and so was my kitchen), with a mound of cherry pits and stems in the sink and a huge mess to clean up. I never wanted to see another cherry again…

The benefit of all this was cherry pie. Cherry pie is one of my favorite pies, other than pumpkin and coconut cream, so when I was getting to the end of the cherries and still had a lot left I decided to treat myself.

sugar free cherry pieAs you may know there is lots of sugar in pie, but as sugar and dairy free household, I have become adept enough to make the appropriate substitutions and still have a delicious experience (where it tastes just as good as one with sugar, if not better). My mouth was already watering at the thought of this pie, with ice cream on top.

I used Martha Stewart’s Sweet Cherry Pie recipe that I found on the internet and adapted it accordingly using honey instead of sugar. It turned out beautifully and everyone had 2 pieces! With ice cream of course!

Vanilla Rice Dream

As for the ice cream, I have recently discovered Rice Dream, a lactose and gluten free ice cream available in stores. It is also sugar free, as it is sweetened with brown rice syrup and agave nectar. It is quite good, in fact it is so good I had way more ice cream than I actually did pie!

I make my own crust (and have been praised for how good it is) simply by following the recipe on the Tenderflake® box, which I use in my crust. It creates a beautiful light and flaky crust.

This pie recipe used a lattice top crust, which I don’t usually do but decided to try it out, and though I found it did look very pretty, I prefer a full crust on the top. A good crust is something we really enjoy at our house, so the more of it the better! Plus it’s really hard to cut once it’s baked (as in getting it out in a decent piece)!

Cherry Pie
  • 4 cups cherries
  • sugar free cherry pie1/4 cup honey
  • 2 -3 tablespoons arrowroot powder or cornstarch
  • 2 tablespoons fresh lemon juice
  • All-purpose flour, for rolling
  • 1 large egg yolk, beaten with 1 tablespoon water, for egg wash
  • 2-9 inch pie crusts (make your own or store bought)
  1. Preheat oven to 400 degrees. On a floured surface, roll out pie crust one to a 14-inch round. Fold dough in half and gently place in middle of a 9 inch pie plate. Once centered unfold dough so that it fits evenly in the plate (do not stretch dough). Using pering knife trim dough to a 1-inch overhand all around.
  2. In a large bowl, combine cherries, honey, arrowroot powder, and lemon juice; toss until cherries are well coated. Pour into prepared bottom crust.
  3. Roll out second crust to a 14-inch round. If creating lattice, cut into eight 1 1/2-inch-wide strips; discard the shortest two. Weave strips over filling to form a lattice. Using pering knife, trim strips so they hang over rim by 1 inch. Tuck strips under rim of bottom crust; press to seal. Crimp with a fork all around the edge. If choosing not to create lattice, simply fold crust in half and place over pie. Trim, press to seal and crimp as described.
  4. Using a pastry brush, lightly brush lattice/ crust with egg wash.
  5. Place pie on a rimmed baking sheet. Bake until filling is bubbling rapidly all over, 60 to 70 minutes (tent with aluminum foil when crust starts to brown, about 40 minutes). Though original recipe calls for above baking time I found that pie was done in about 50-55 minutes. Please use times as approximate and gauge it according to your oven.
  6. Transfer pie to a wire rack, and let cool to room temperature, at least 3 hours.

Like fruit pies? Check out my other sugar free pie recipes for Peach, Apple & Blueberry